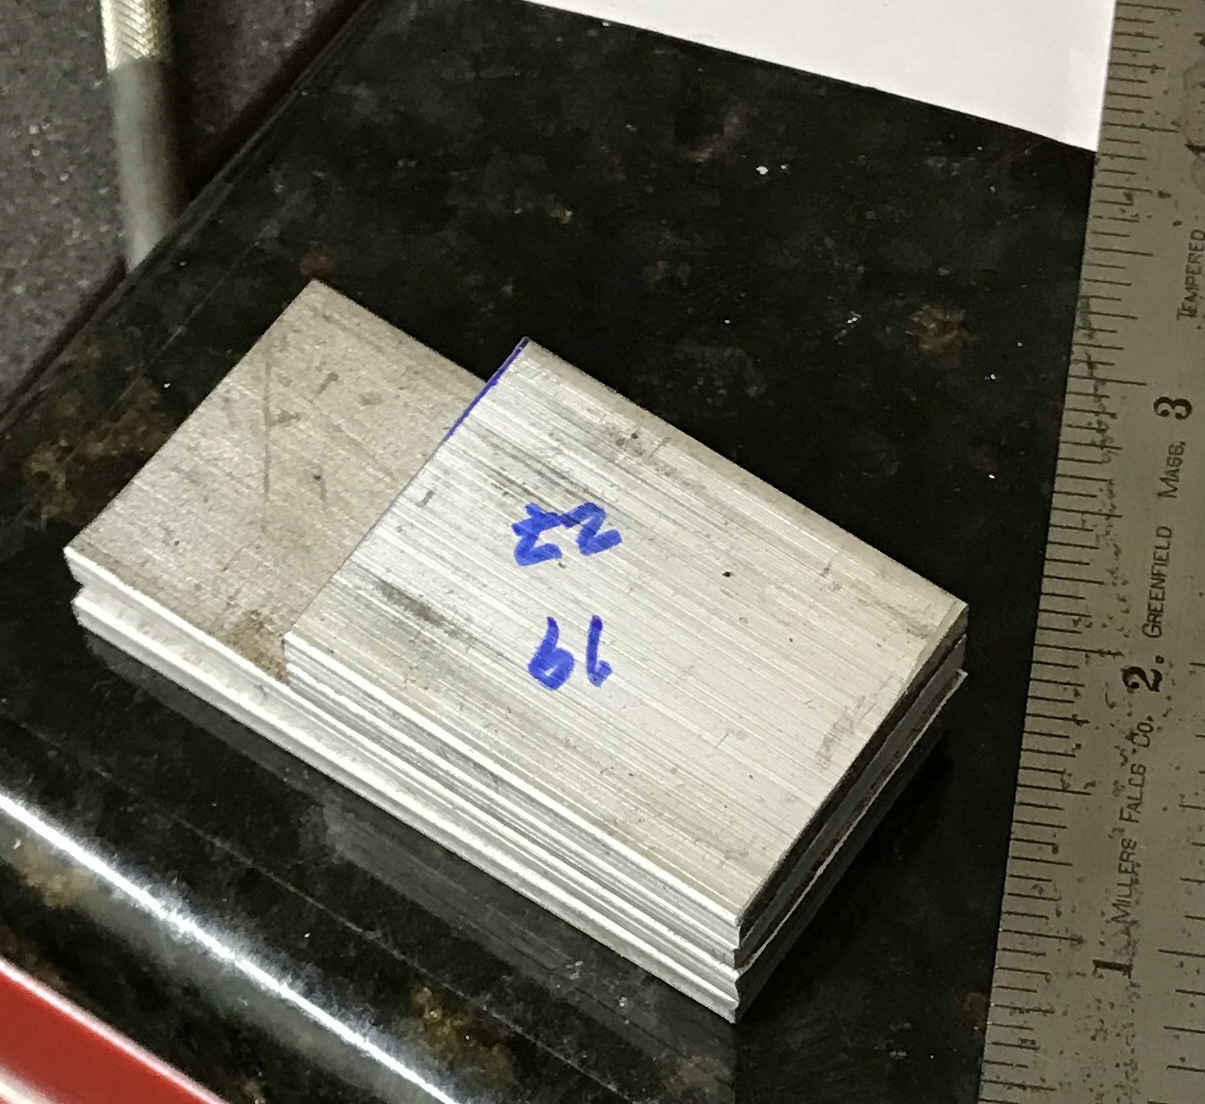
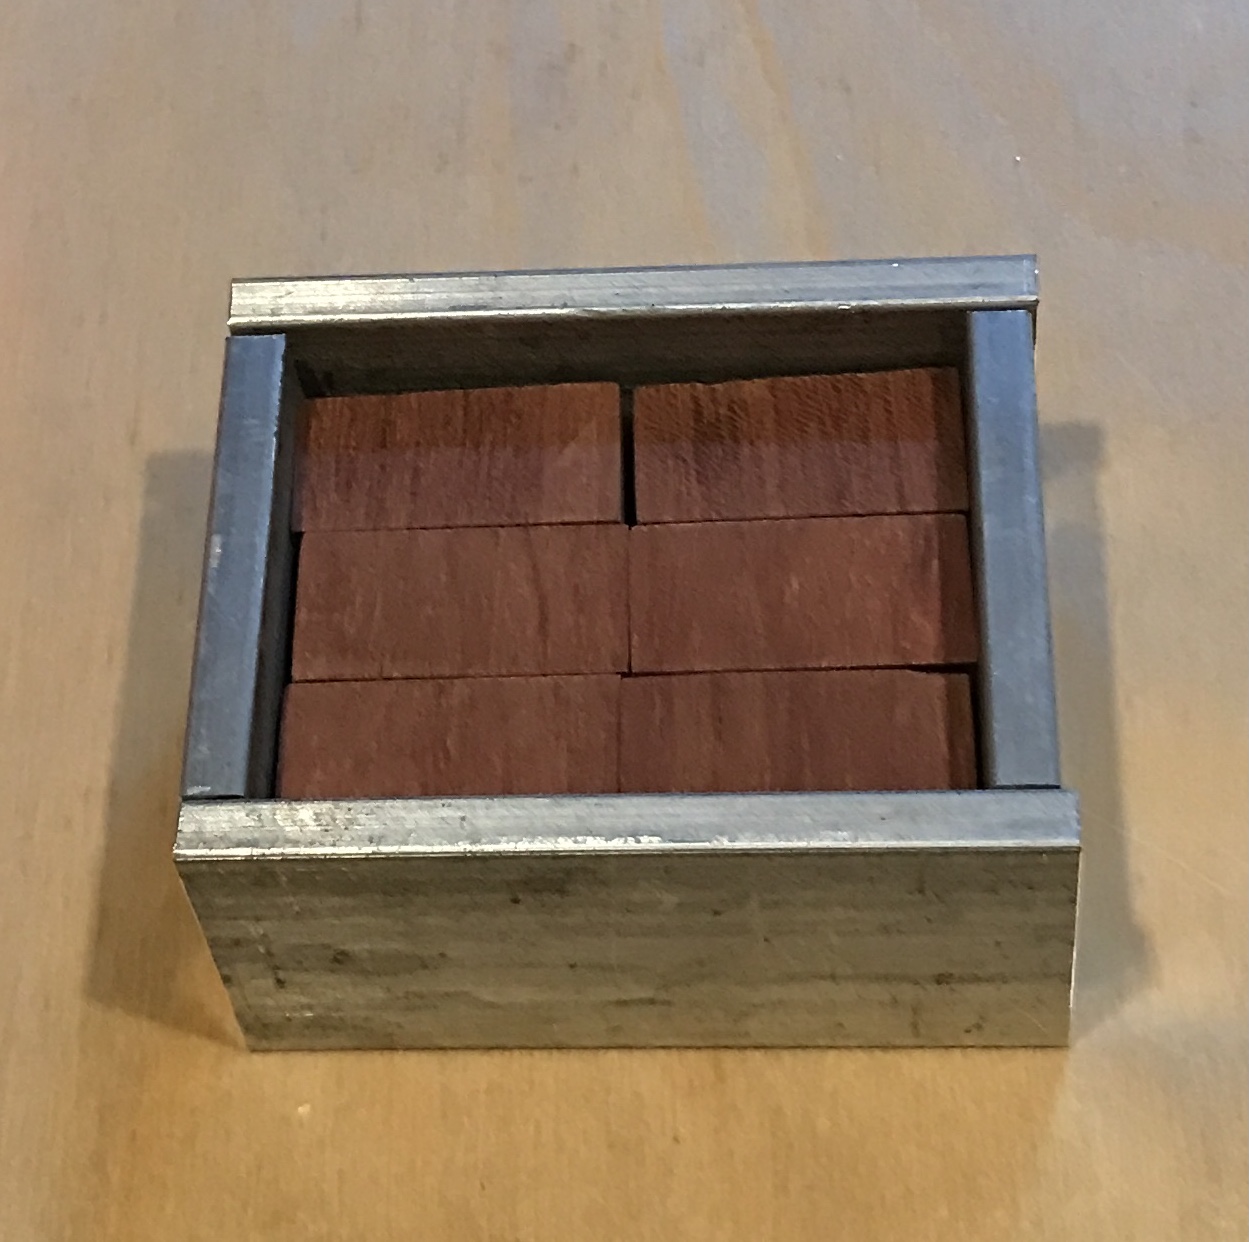
Saw a simple packing puzzle on Mr. Puzzle's Youtube channel. The puzzle he shows is a box with a clear lid. The lid has a hole in it for adding six identical blocks. I plan to mimic this puzzle. It will be made of aluminum with aluminum bars on the top forming the opening. There are already puzzle pieces/blocks available from the 3-Piece Puzzle.
The blocks are 1/2" X 1" X 1", so the box interior will be 1.562" X 2.062". (A little play for imperfect blocks.) A length of 1" aluminum angle will be cut providing 1" wide box sides. A thin sheet of aluminum will be used as the bottom. The four strips comprising the top will be made from the cutoffs of the aluminum angle using a jig.
The first challenge is cutting the aluminum angle at the vertex to provide the 1" wide strip of 1/8" aluminum. This went better than expected, but realized the bar was a little too short for all four sides. So focus was shifted to a bar of 3/16" X 1 1/4" aluminum.
Four sides were cut from this bar. Pairs were aligned in the milling vise and milled flush on one side. The pair was flipped over and milled to length: 1.562" for the short sides and 2.438" for the long sides.
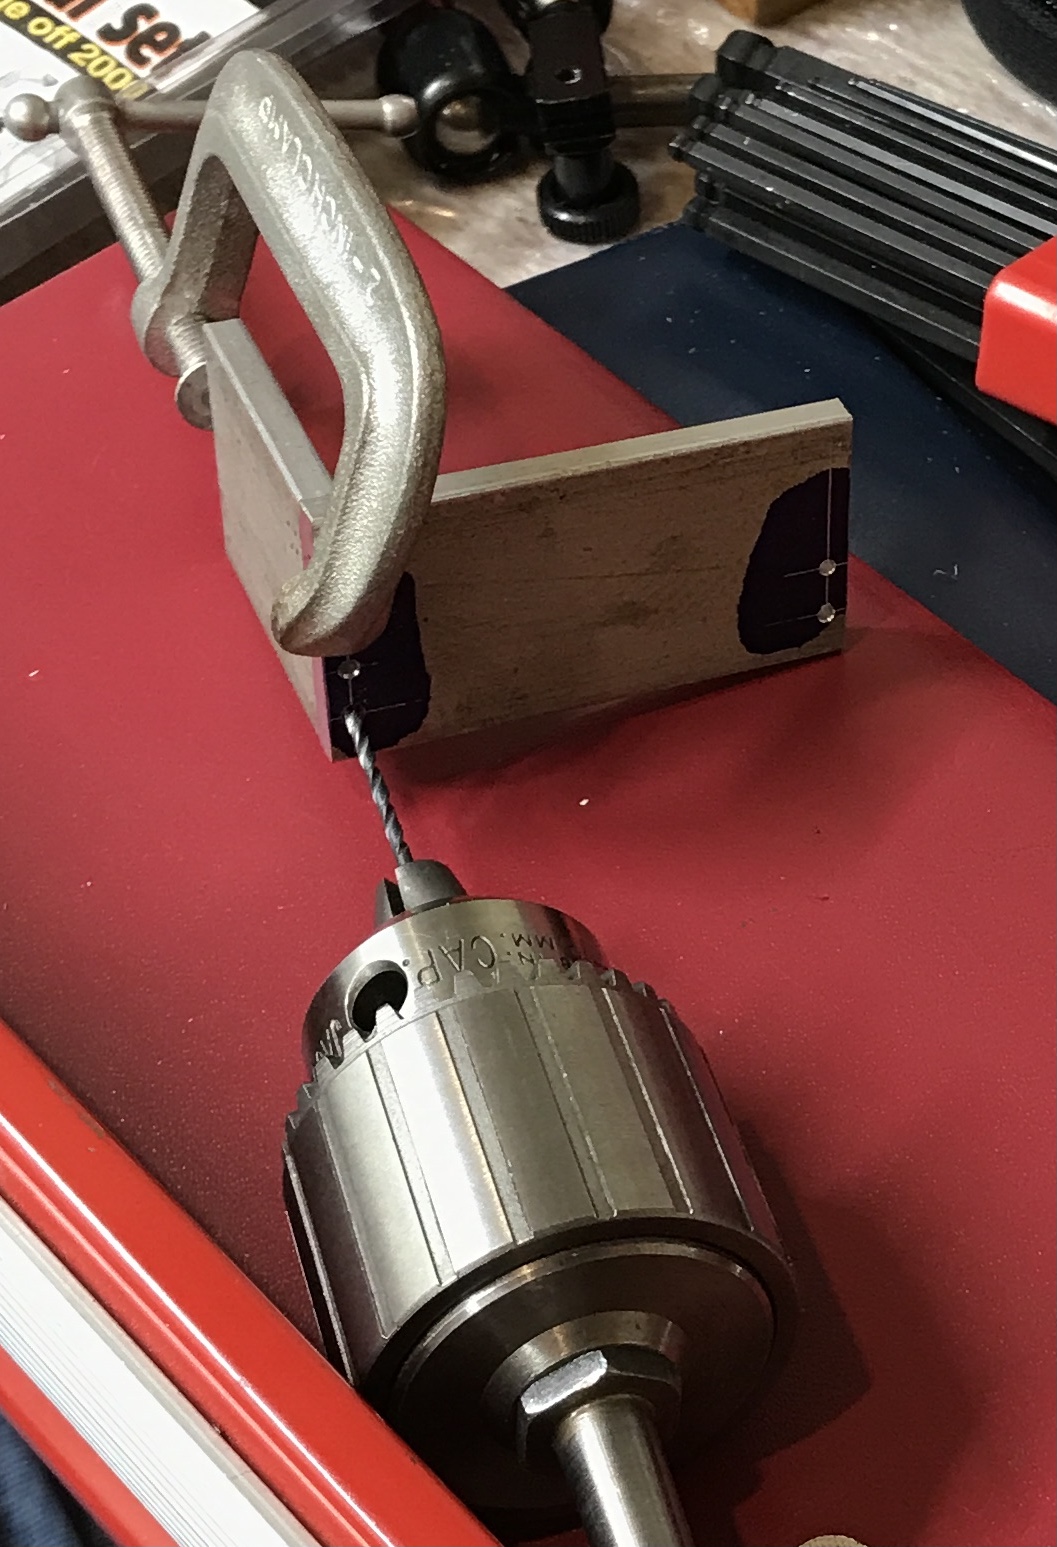
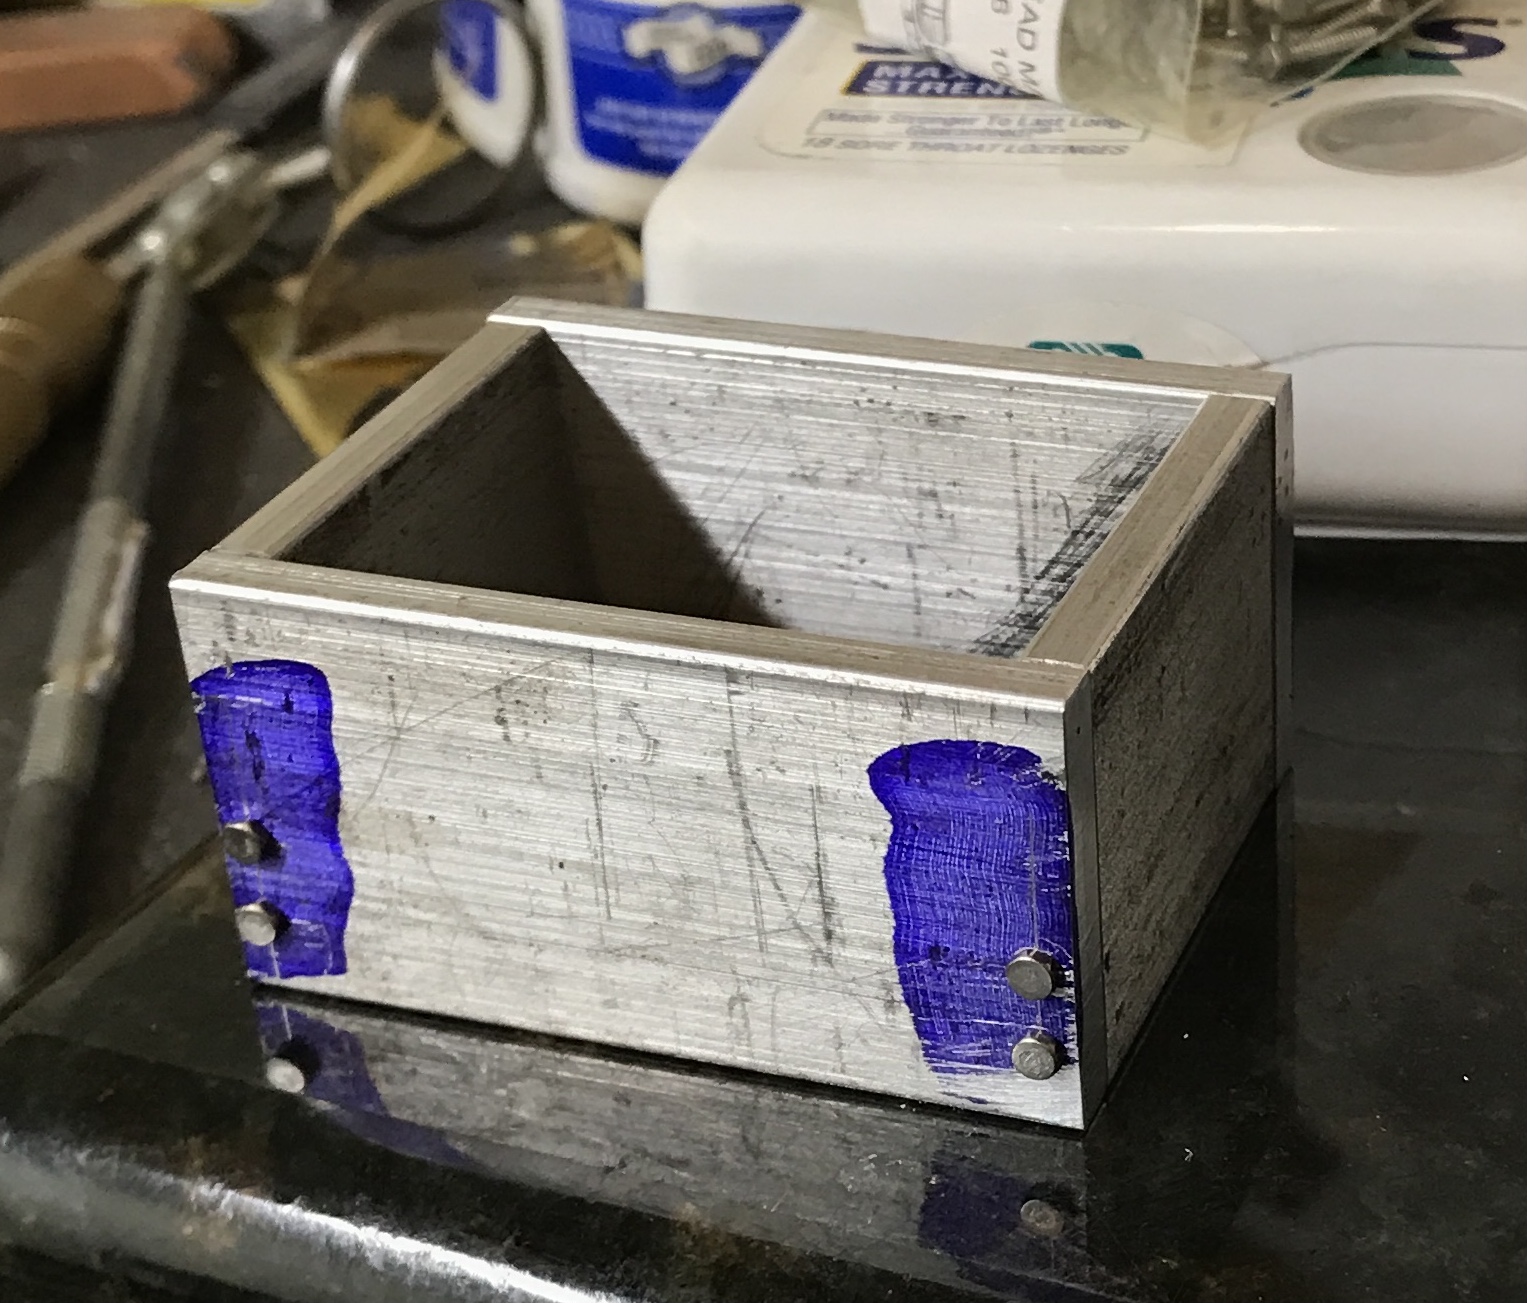
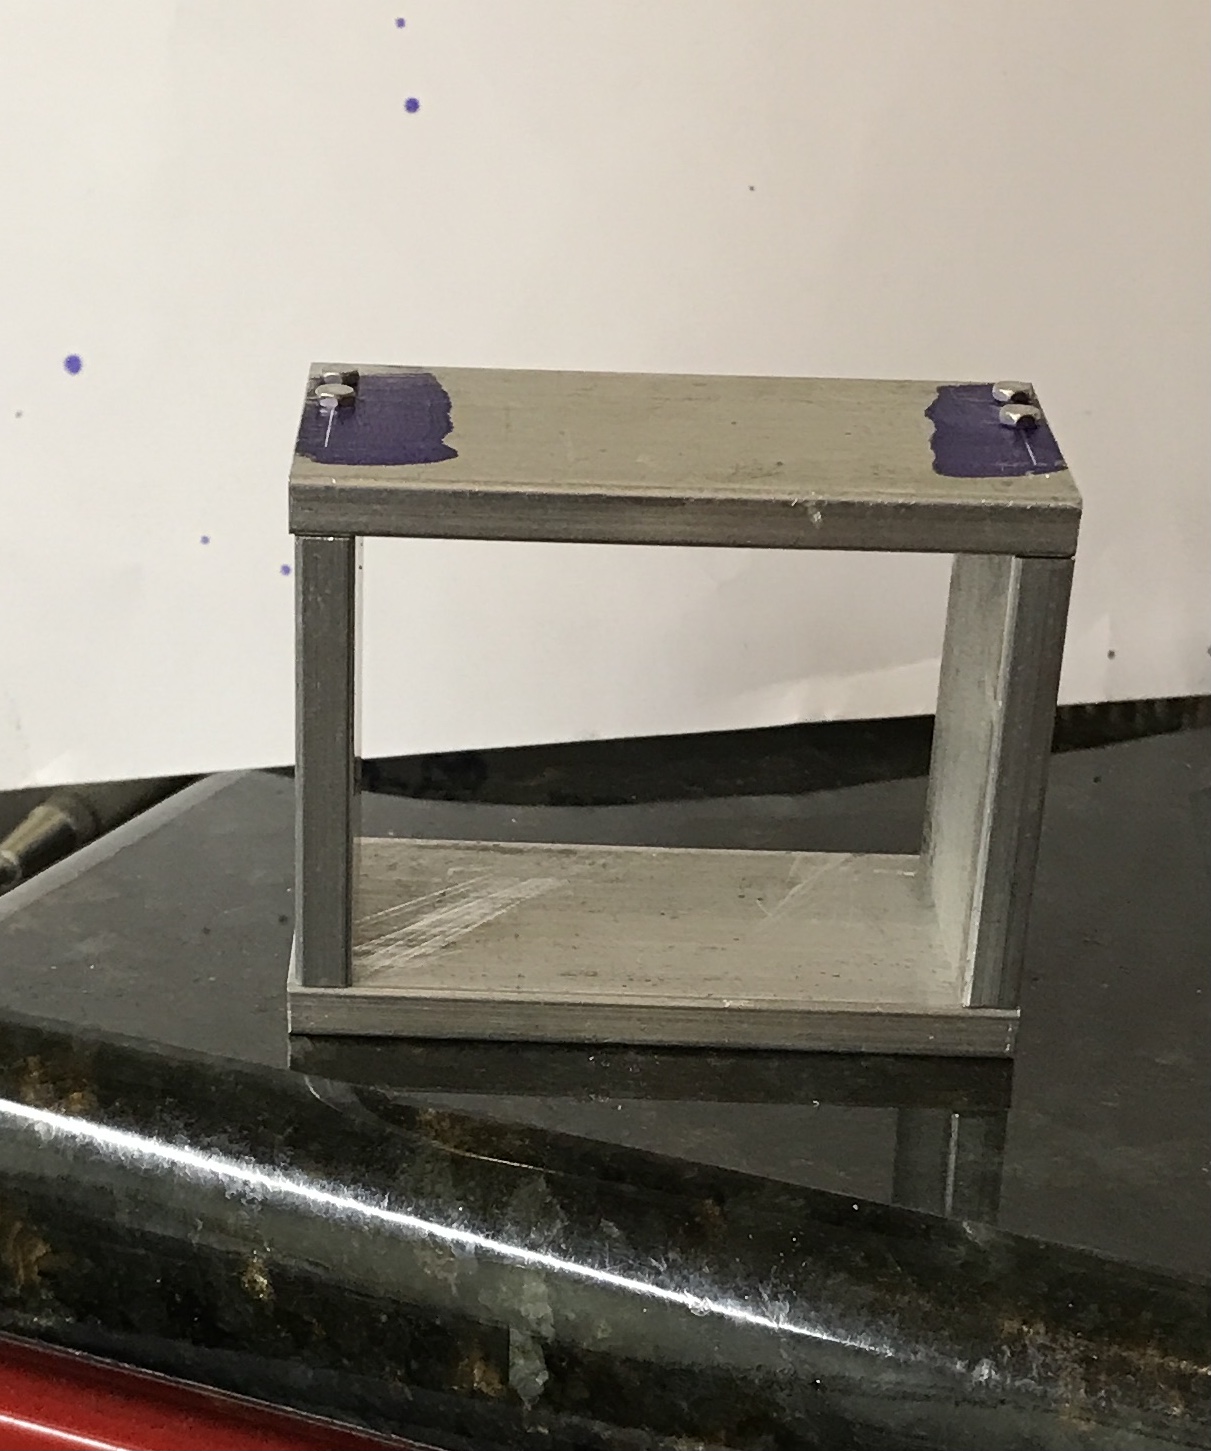
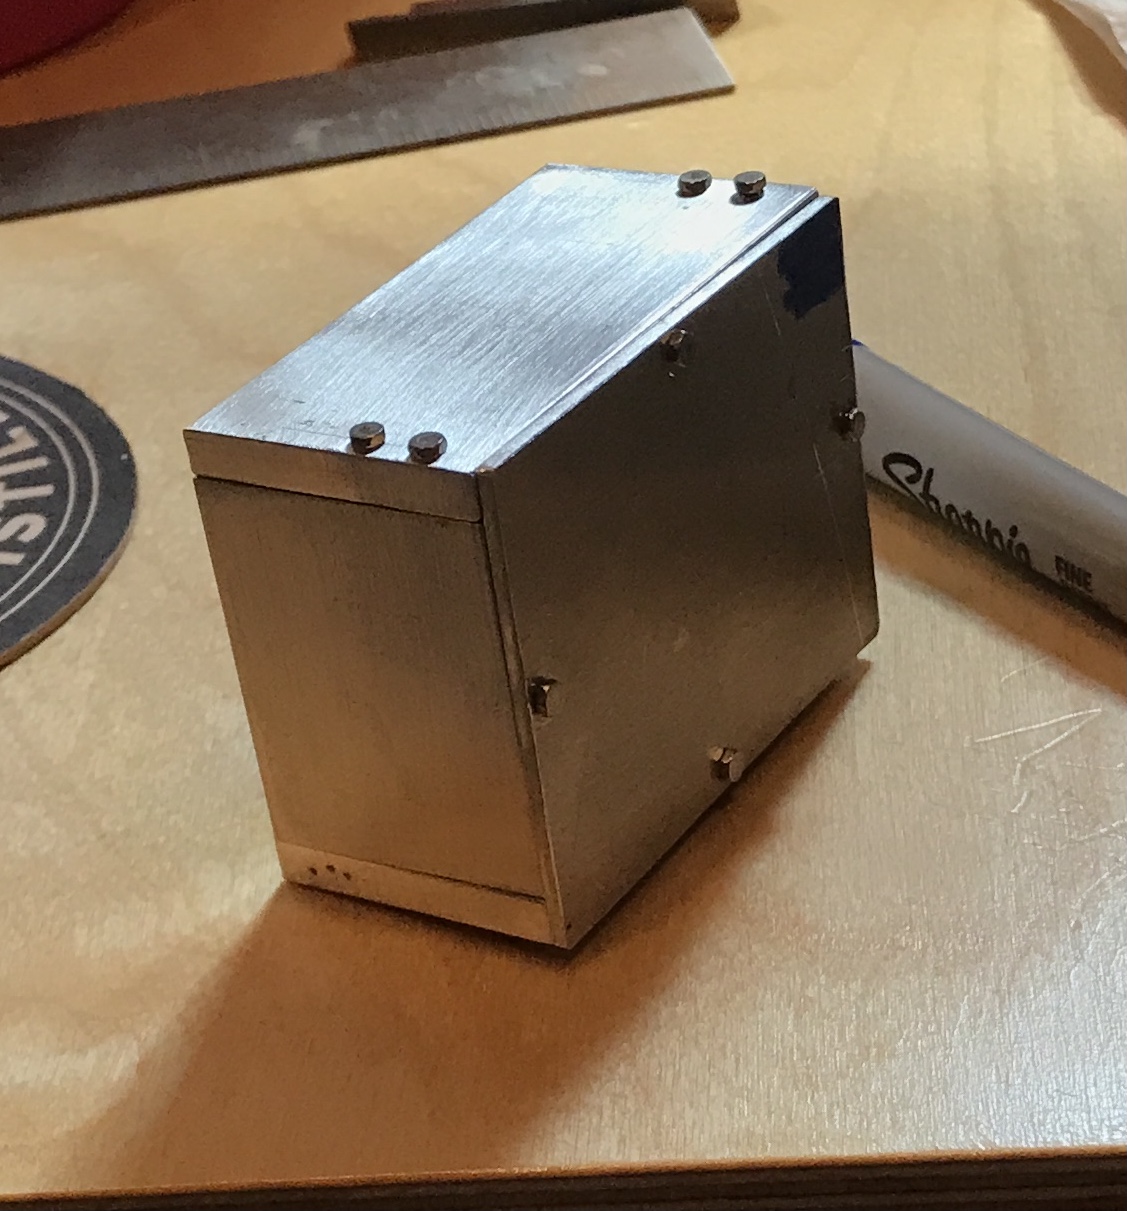
The long sides were marked for holes at 1/2" and 1/4" centered 3/32" from the edges. These holes were drilled through, 0.070", for 0-80 screws. The holes were transferred to the edges of the short sides using the same drill bit on two sides clamped together as shown below. While drilling the first hole the bit broke off in the aluminum. On this part the holes were remarked with the opposite side serving as bottom. Holes were drilled for 2-56 screws and tapped about 1/4" deep. The holes in the long sides were opened up further to accomodate the larger screw size. The assembled sides are shown below. The box is square unlike the picture.
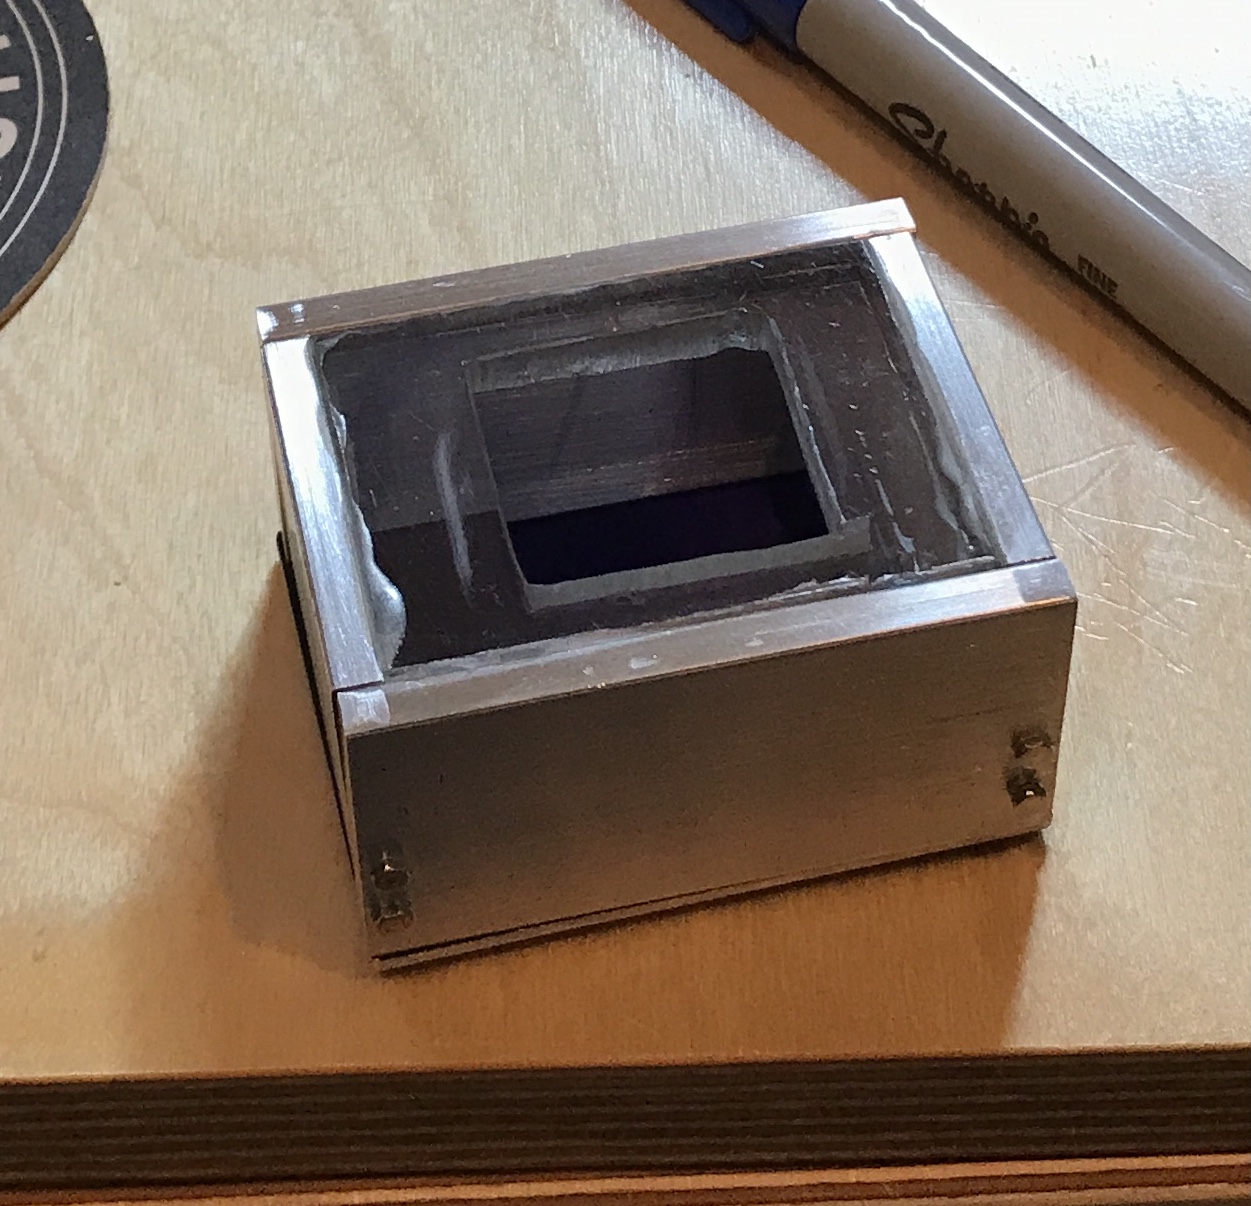
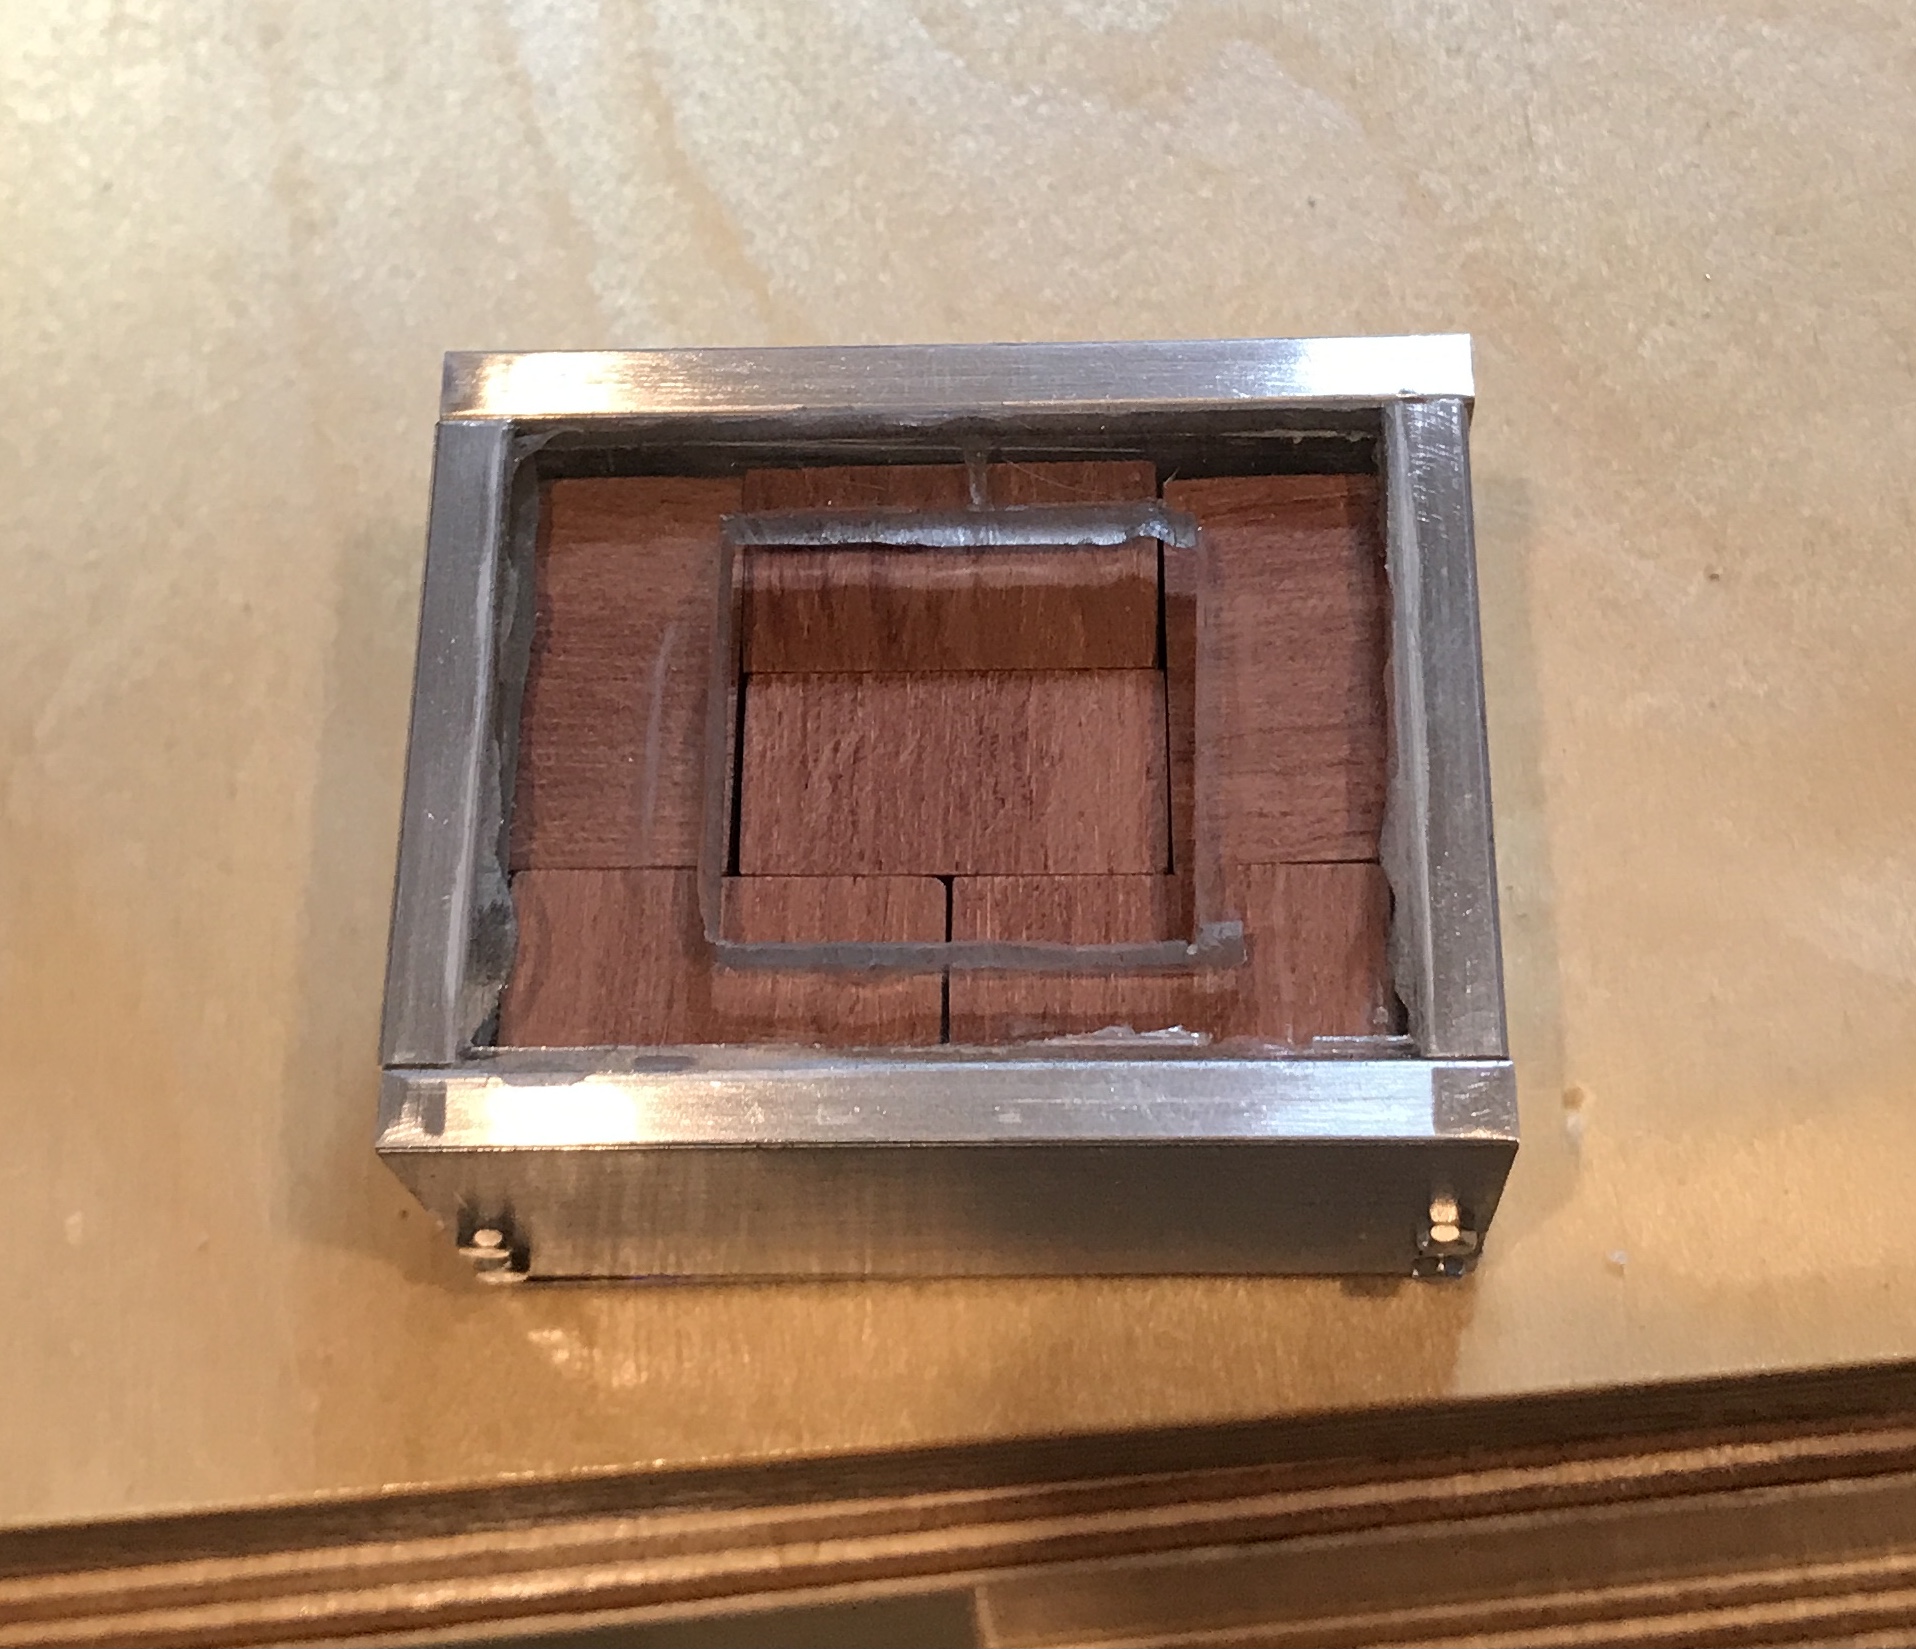
Decided to try a plastic window. A piece of 3/16" plastic was cut to fit the aluminum box, 1.563 X 2.063". A 1" square was marked out in the middle of this piece of plastic. Two opposite corners were drilled with a 1/8" drill 1/16" from both sides. The coping saw blade did not fit through the 1/8" hole as the end pegs were too long. The holes were opened with a #27 drill (0.144"). The square opening was cut out using an aluminum strip to maintain some degree of straightness. The hole's sides were then filed to make them straight. Finally, two-part epoxy was used to glue the plastic lid into the top of the box.
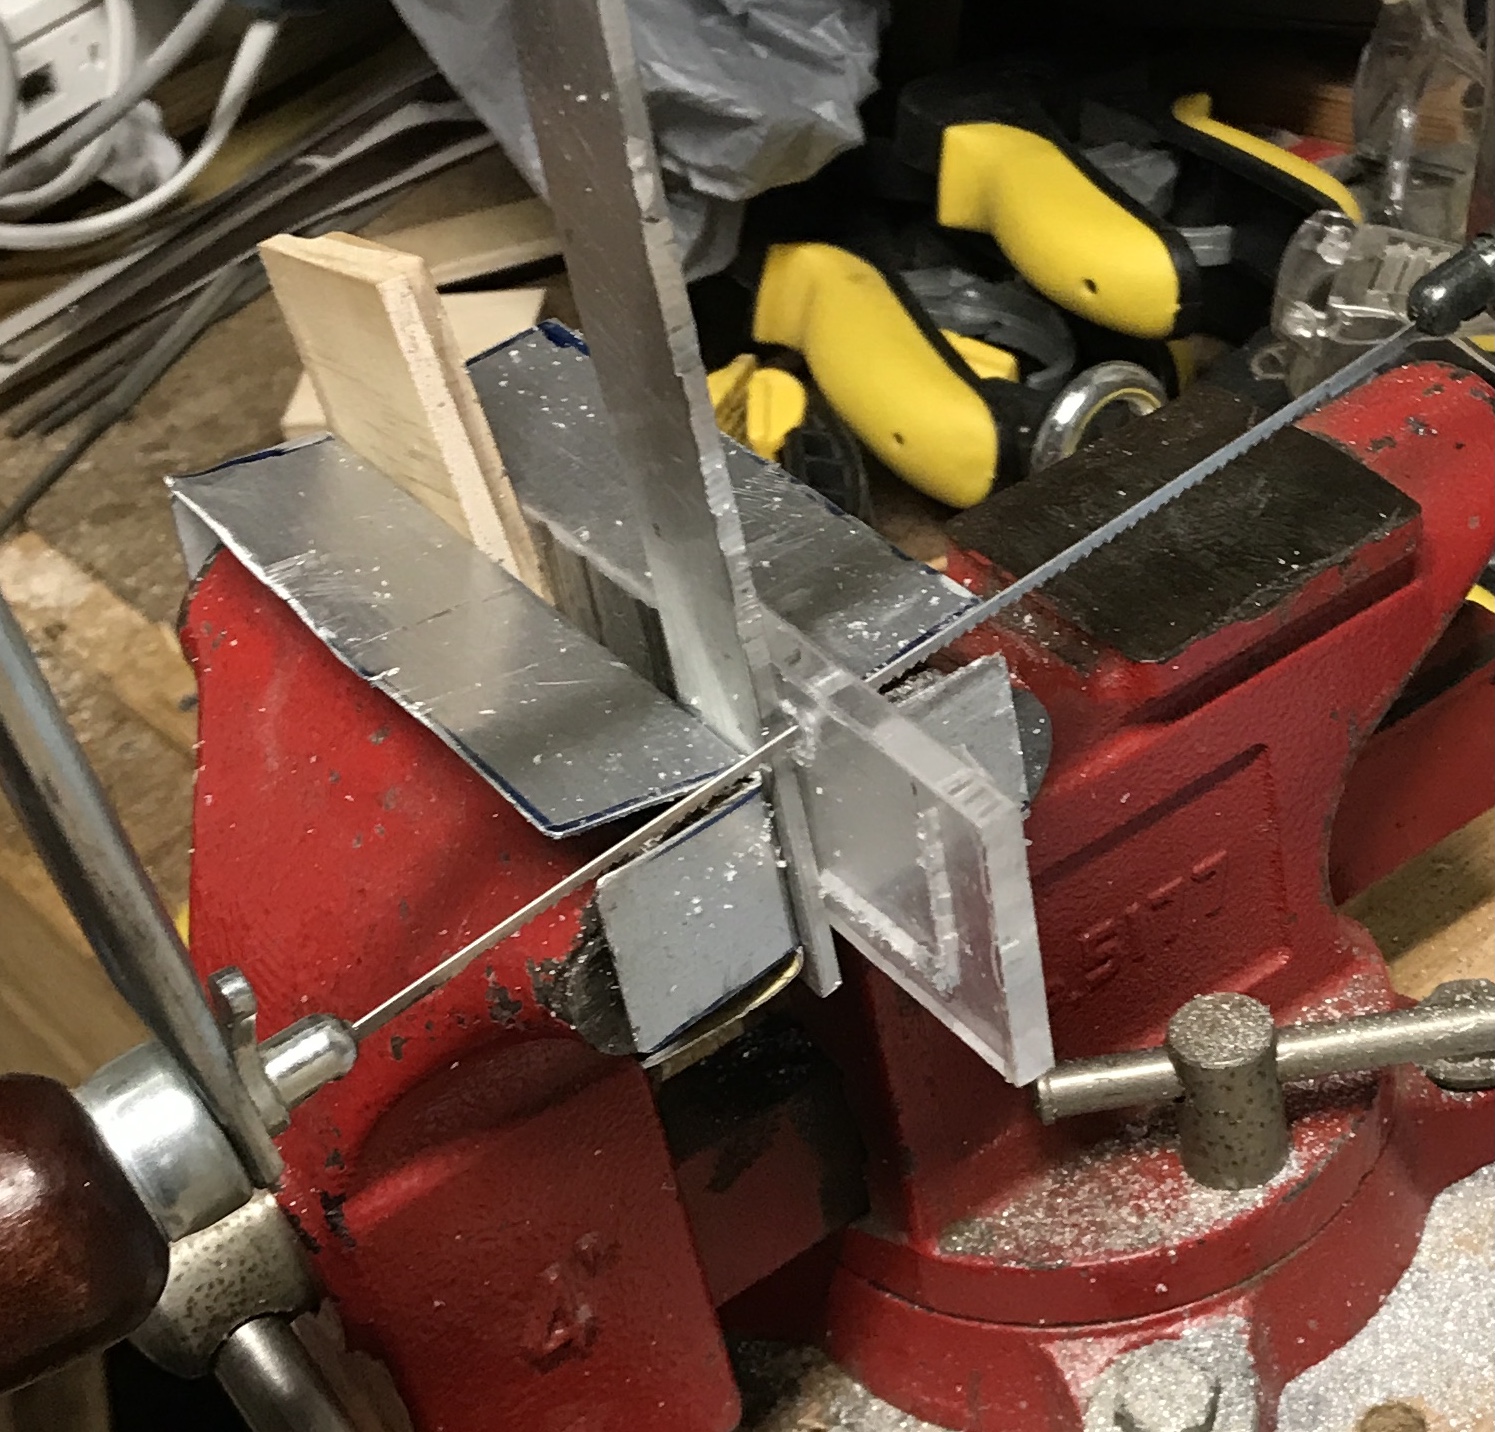
The aluminum was not a good choice as a straightedge. It is so soft that cutting into it with the coping saw was not noticeable.
The glue was allowed go dry for over 24 hours. The box was sanded with 320 grit paper. It is not too bad looking for a quick project. There was some glue squeeze out, but it is not too distracting.
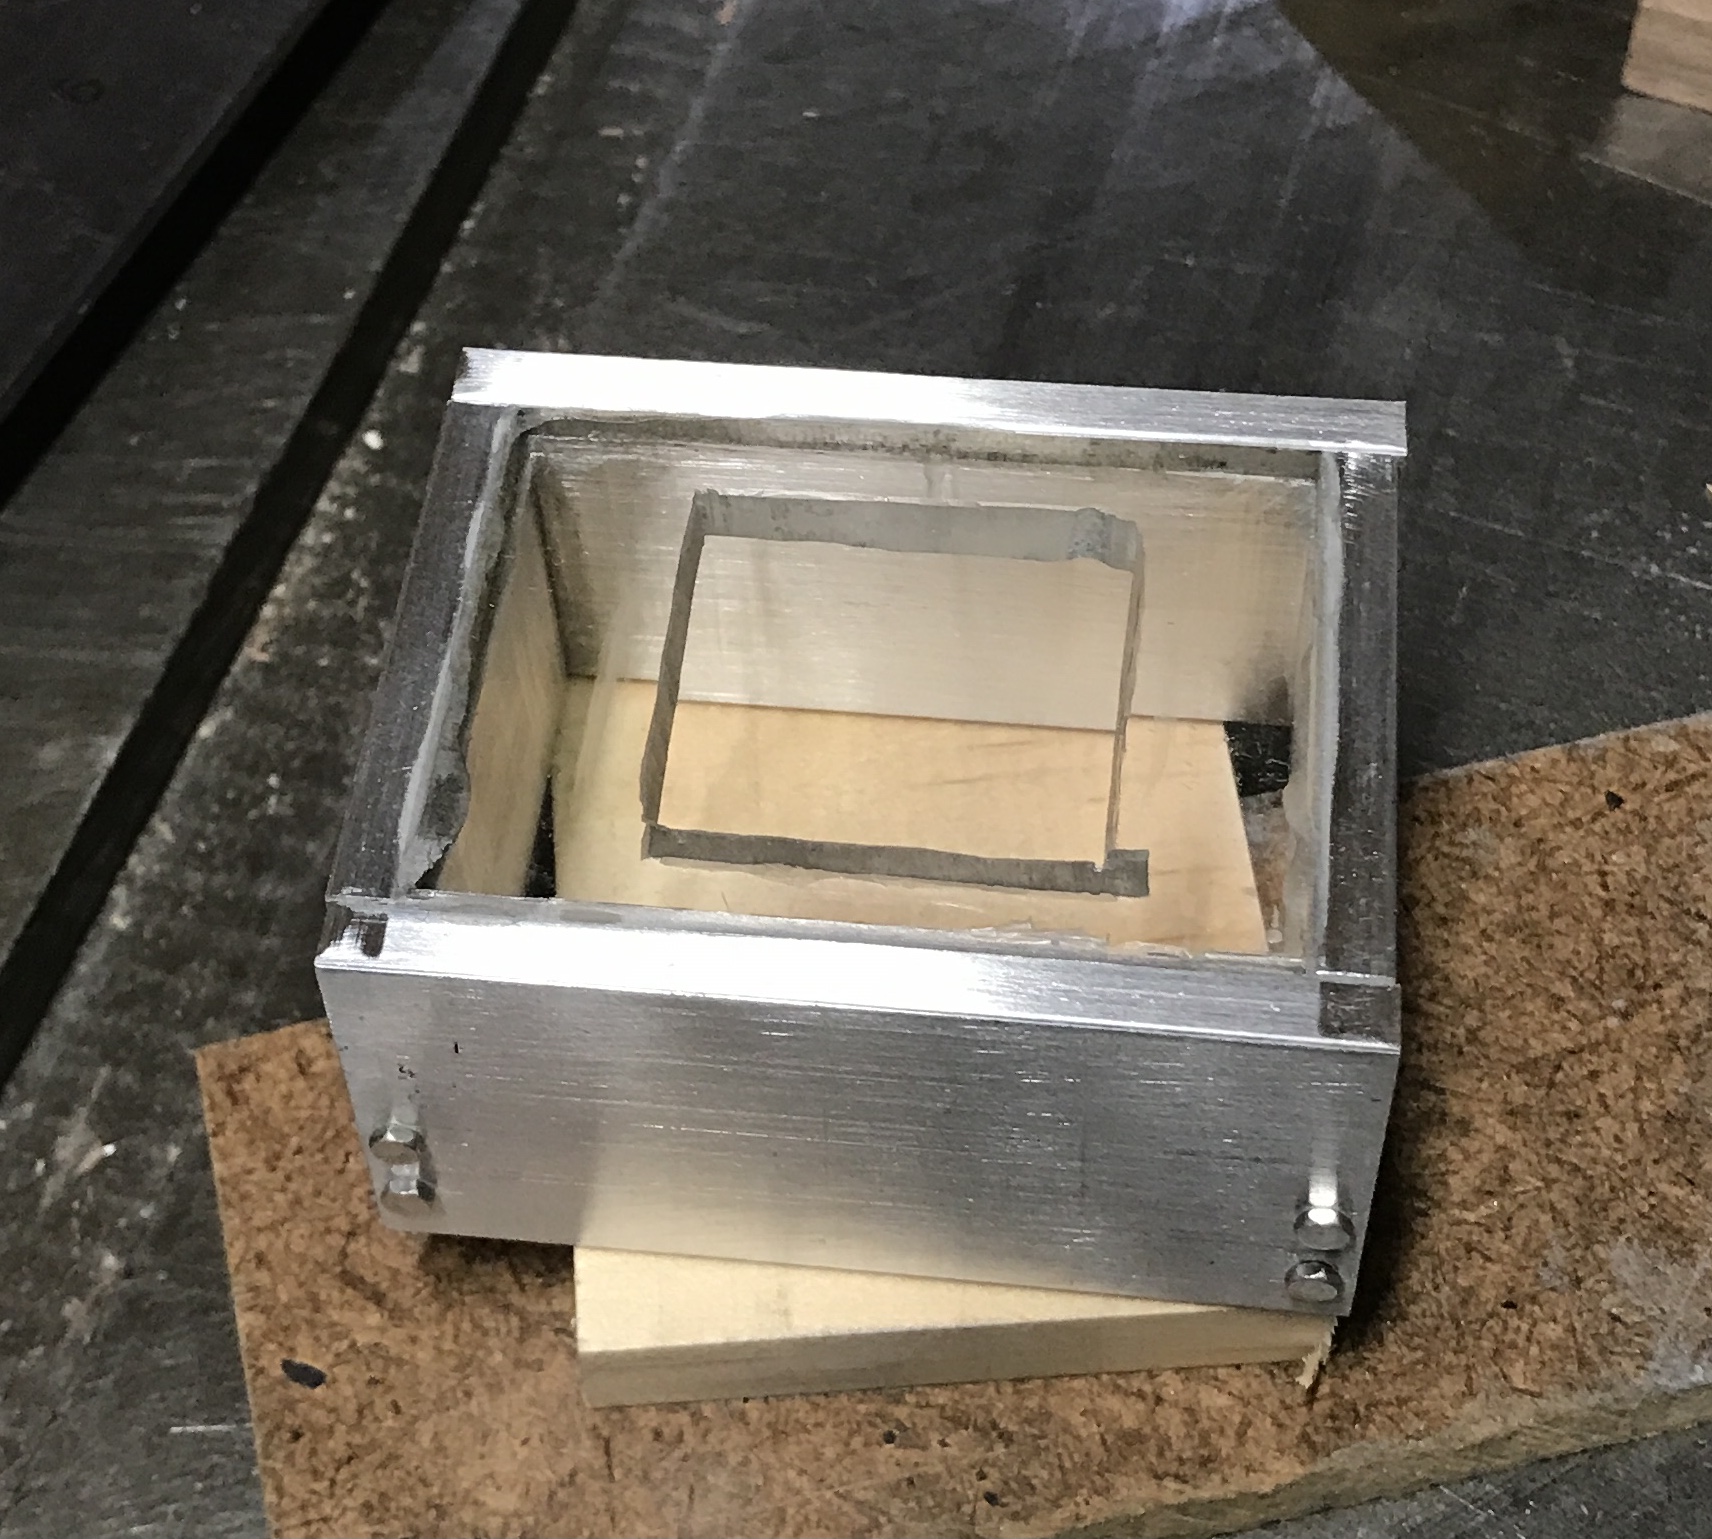
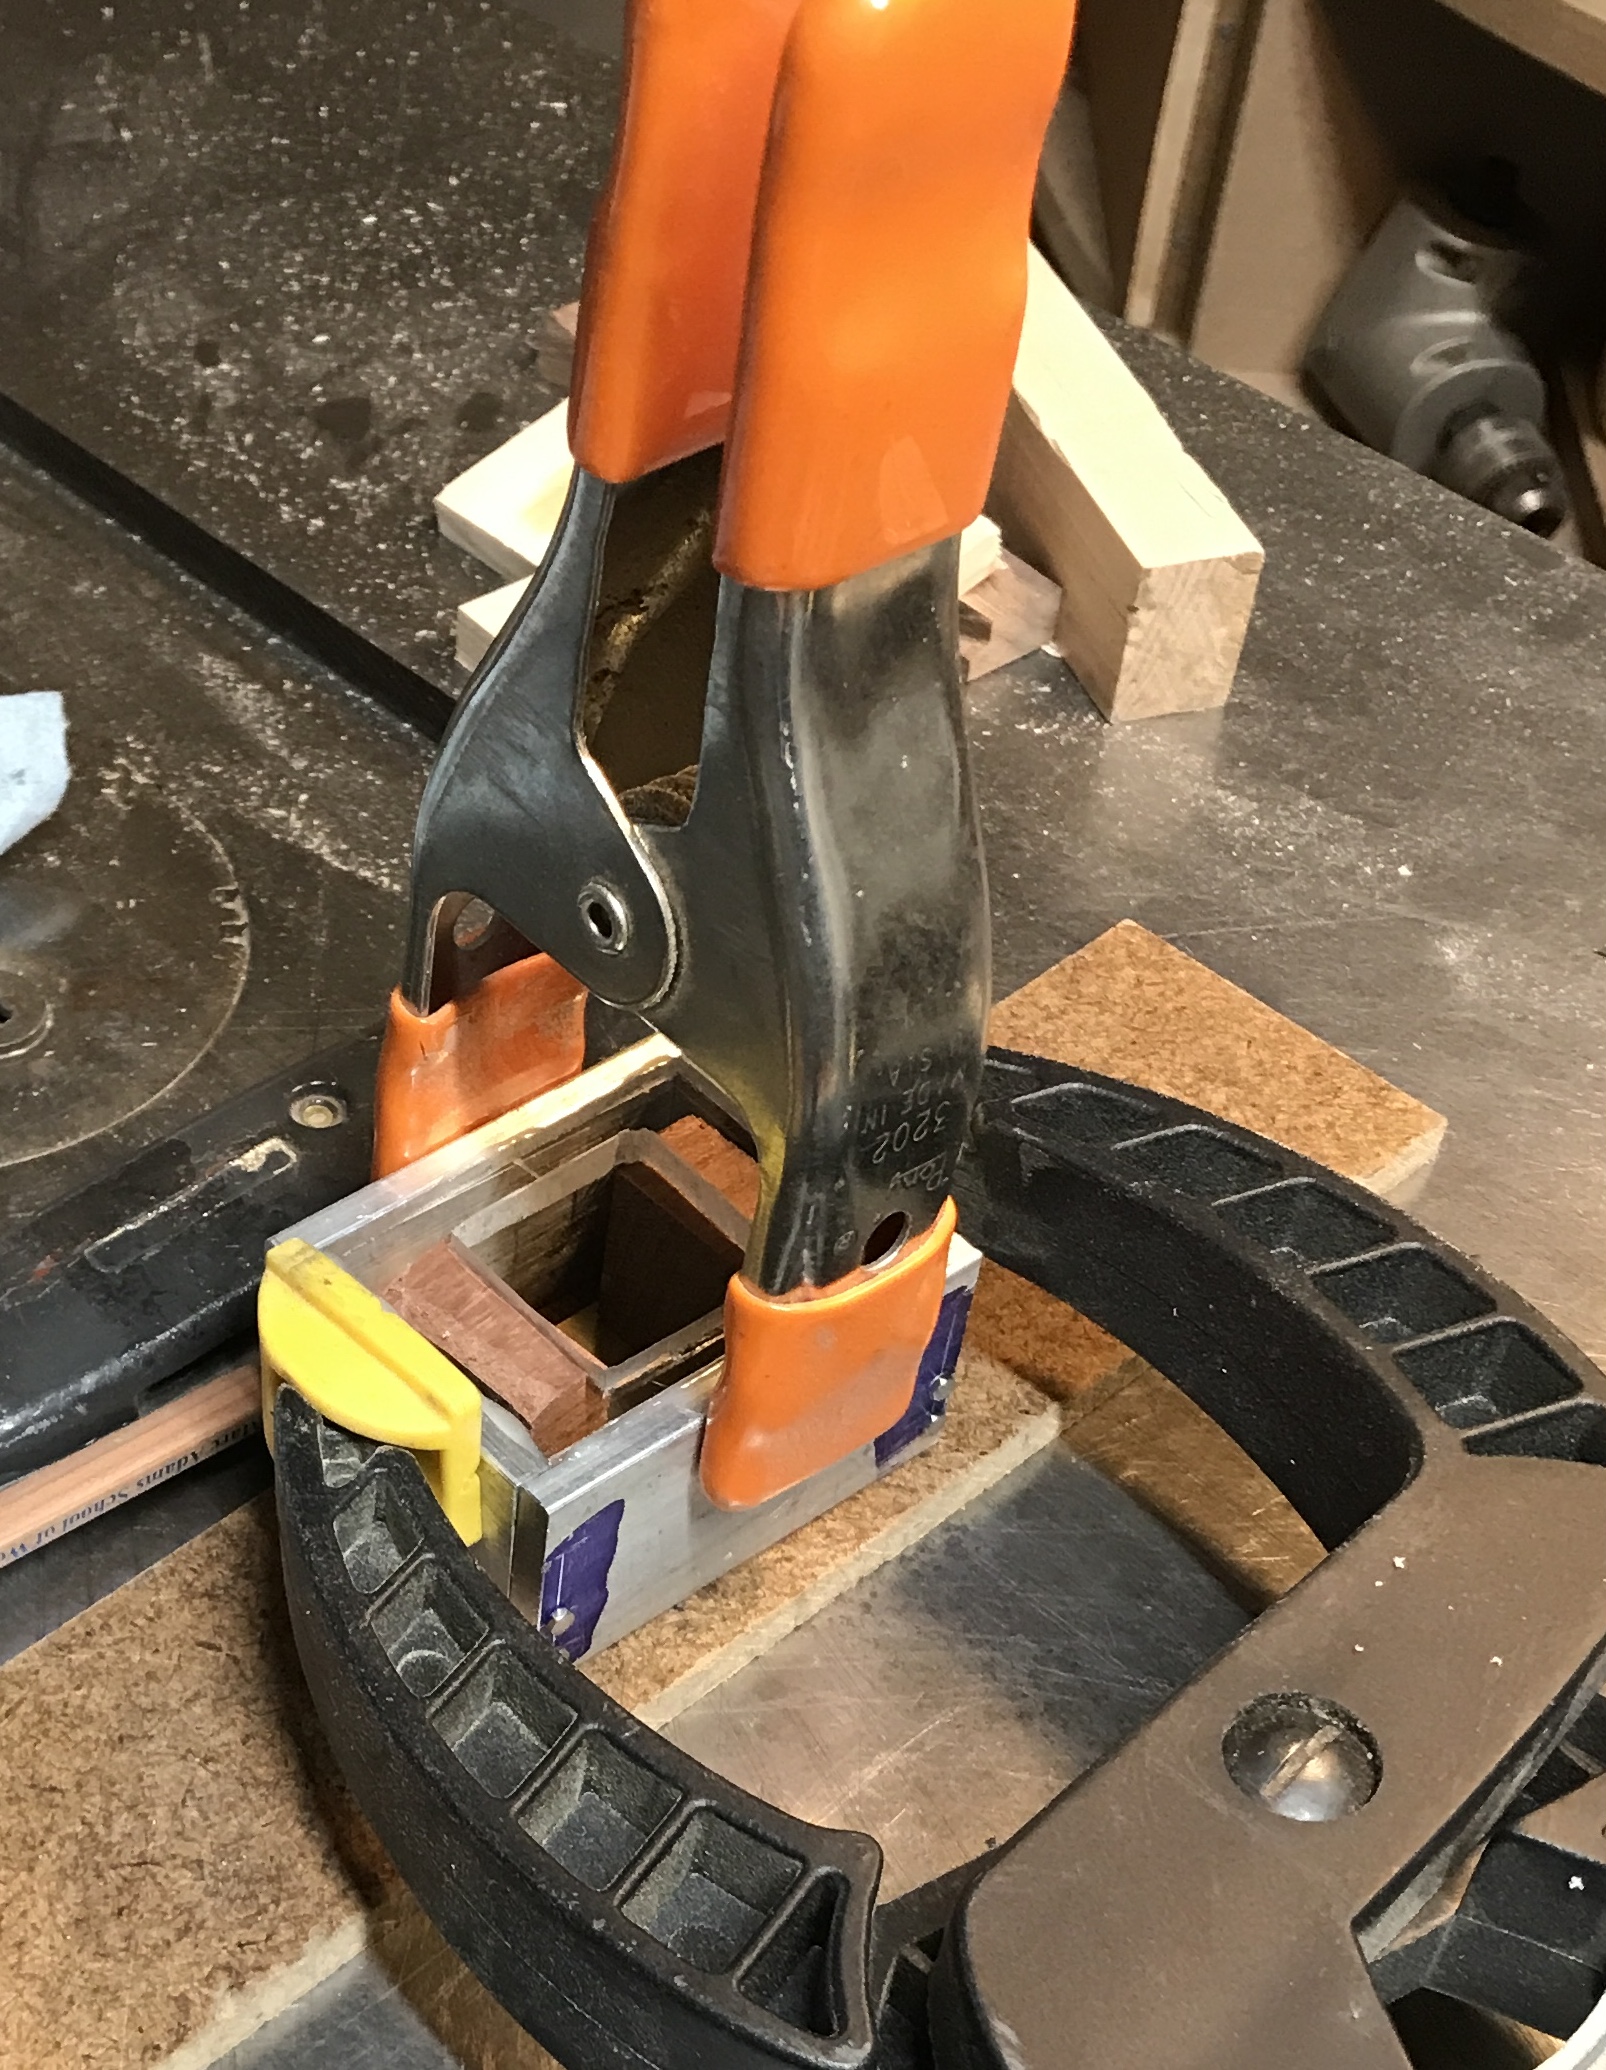
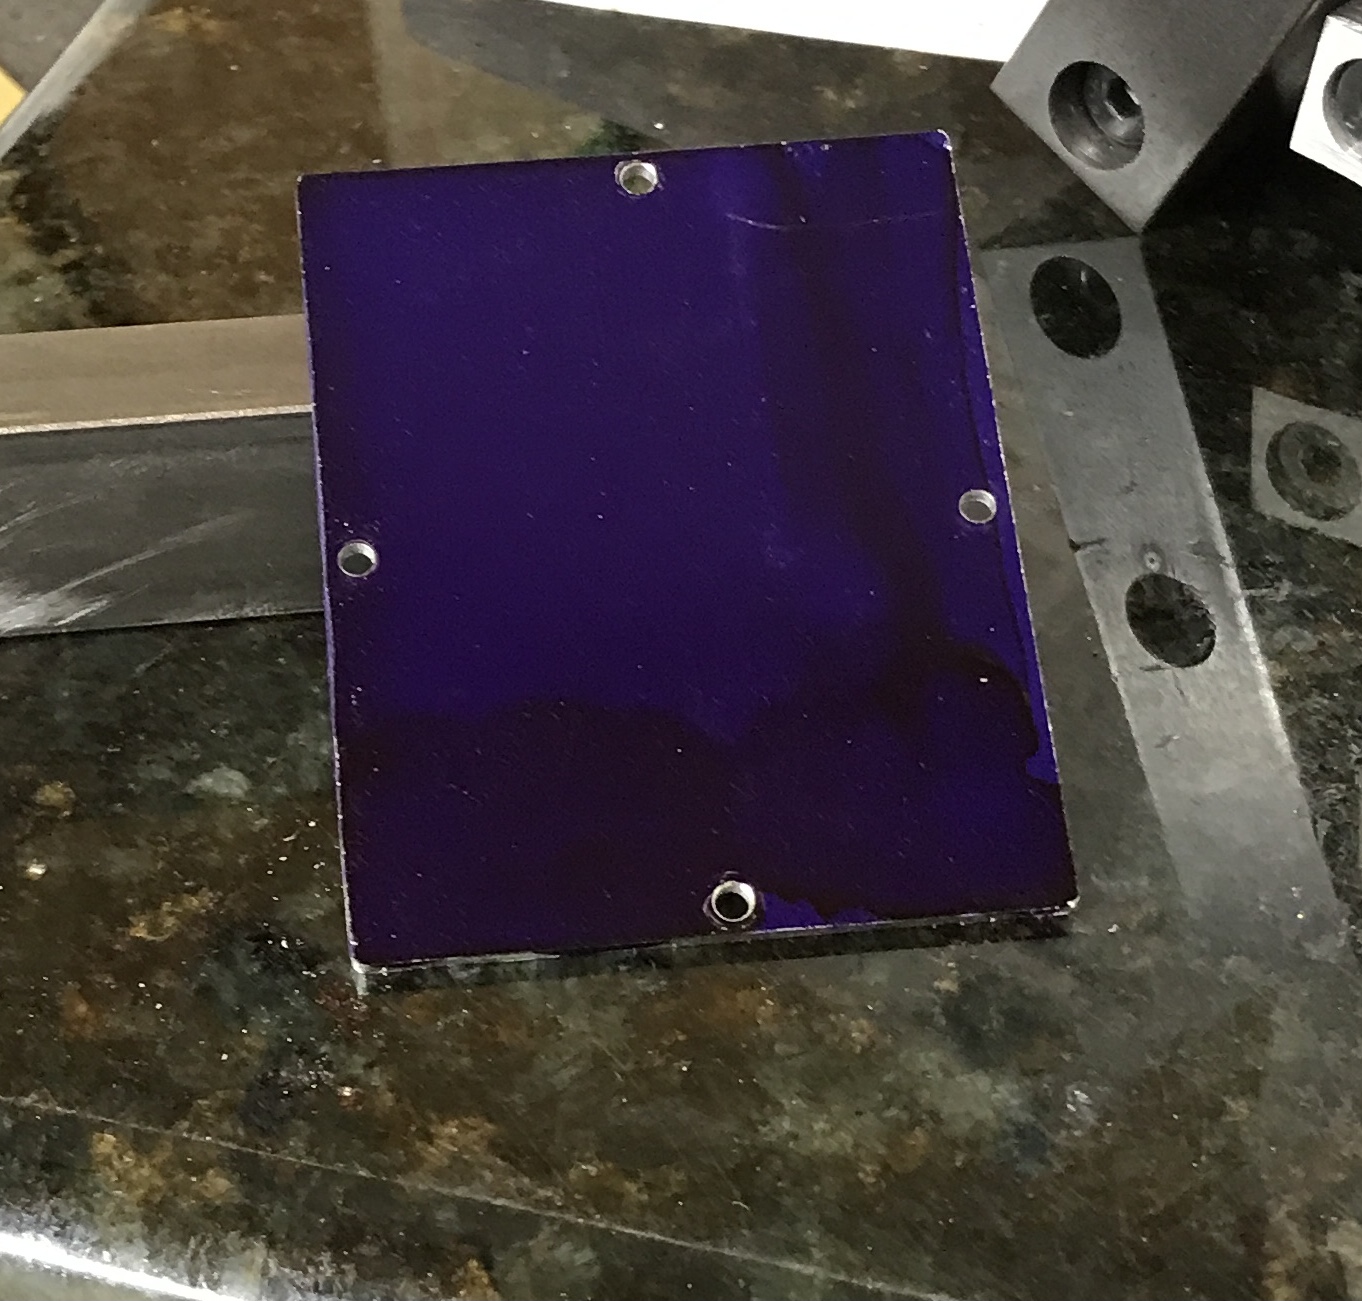
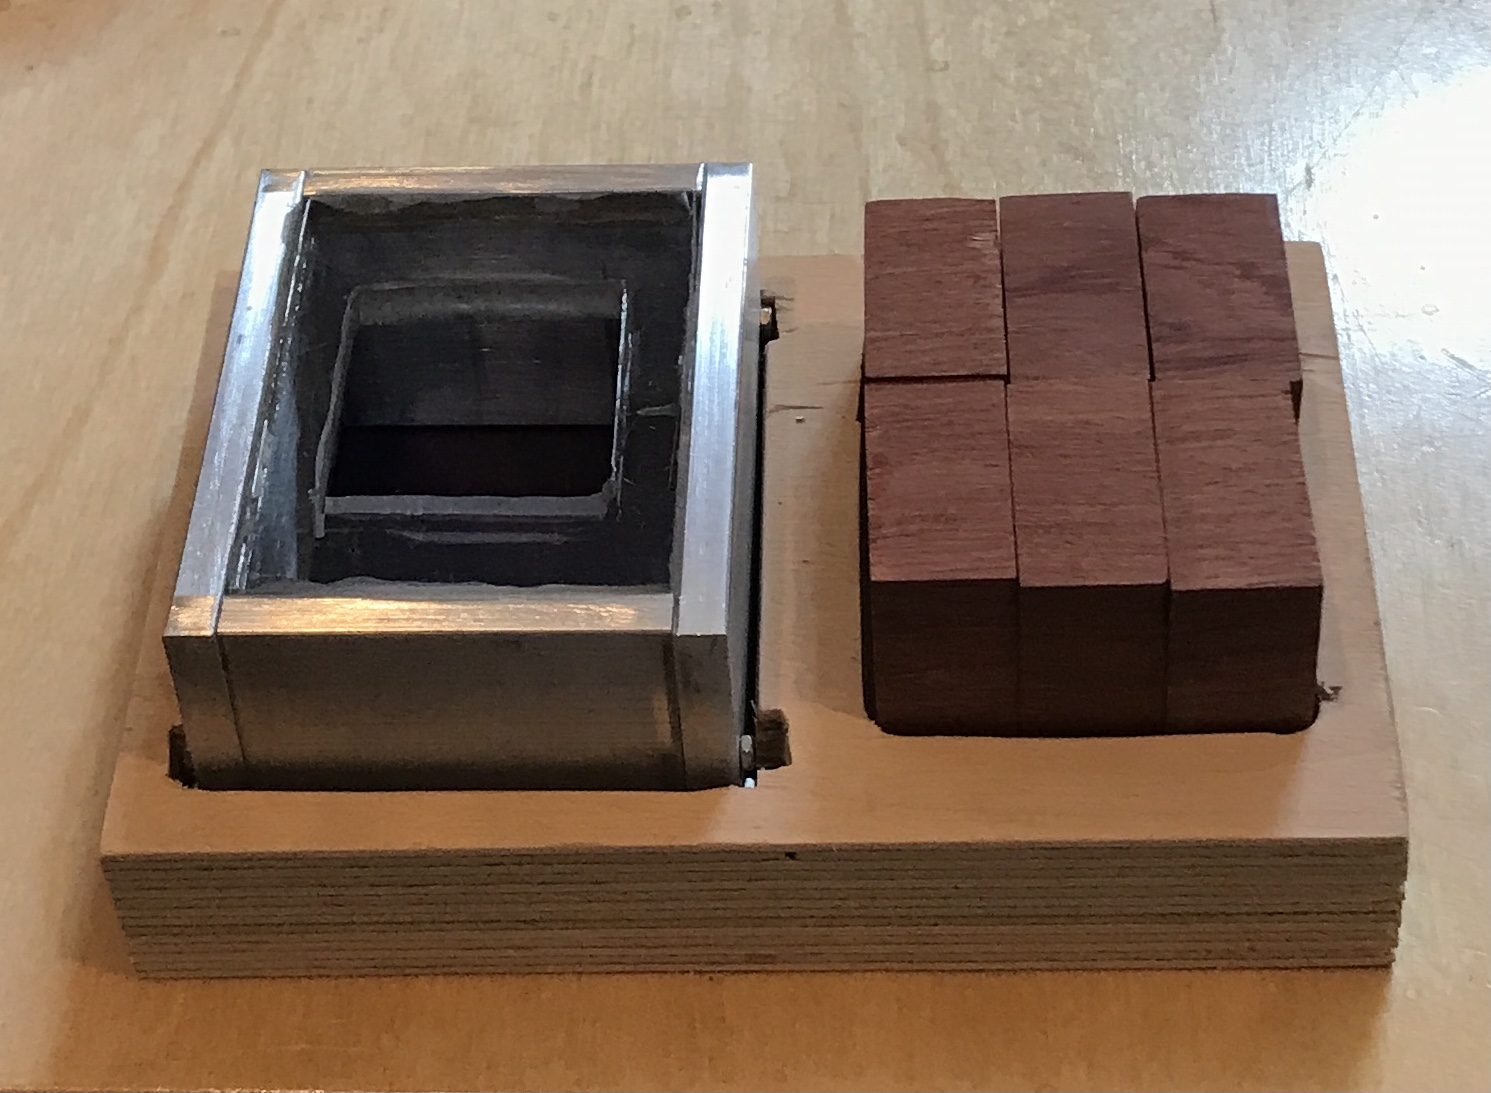
A large piece of 1/16" aluminum plate was found. A corner was painted with Dykem and marked around the box. The plate was cut with the table saw using the cross slide. The plate held beneath the box looked good with the Dykem, so it was painted more uniformly. In order to miss the screws holding the box together, the bottom was drilled for through holes in the middle of the sides, 3/32" in from the edges. The holes were transferred to the box edges with a punch. These four holes were center drilled, drilled (#50), and tapped 2-56. Four screws were shortened to tightly hold the bottom in place. The photos below show the drilled bottom and the completed box.
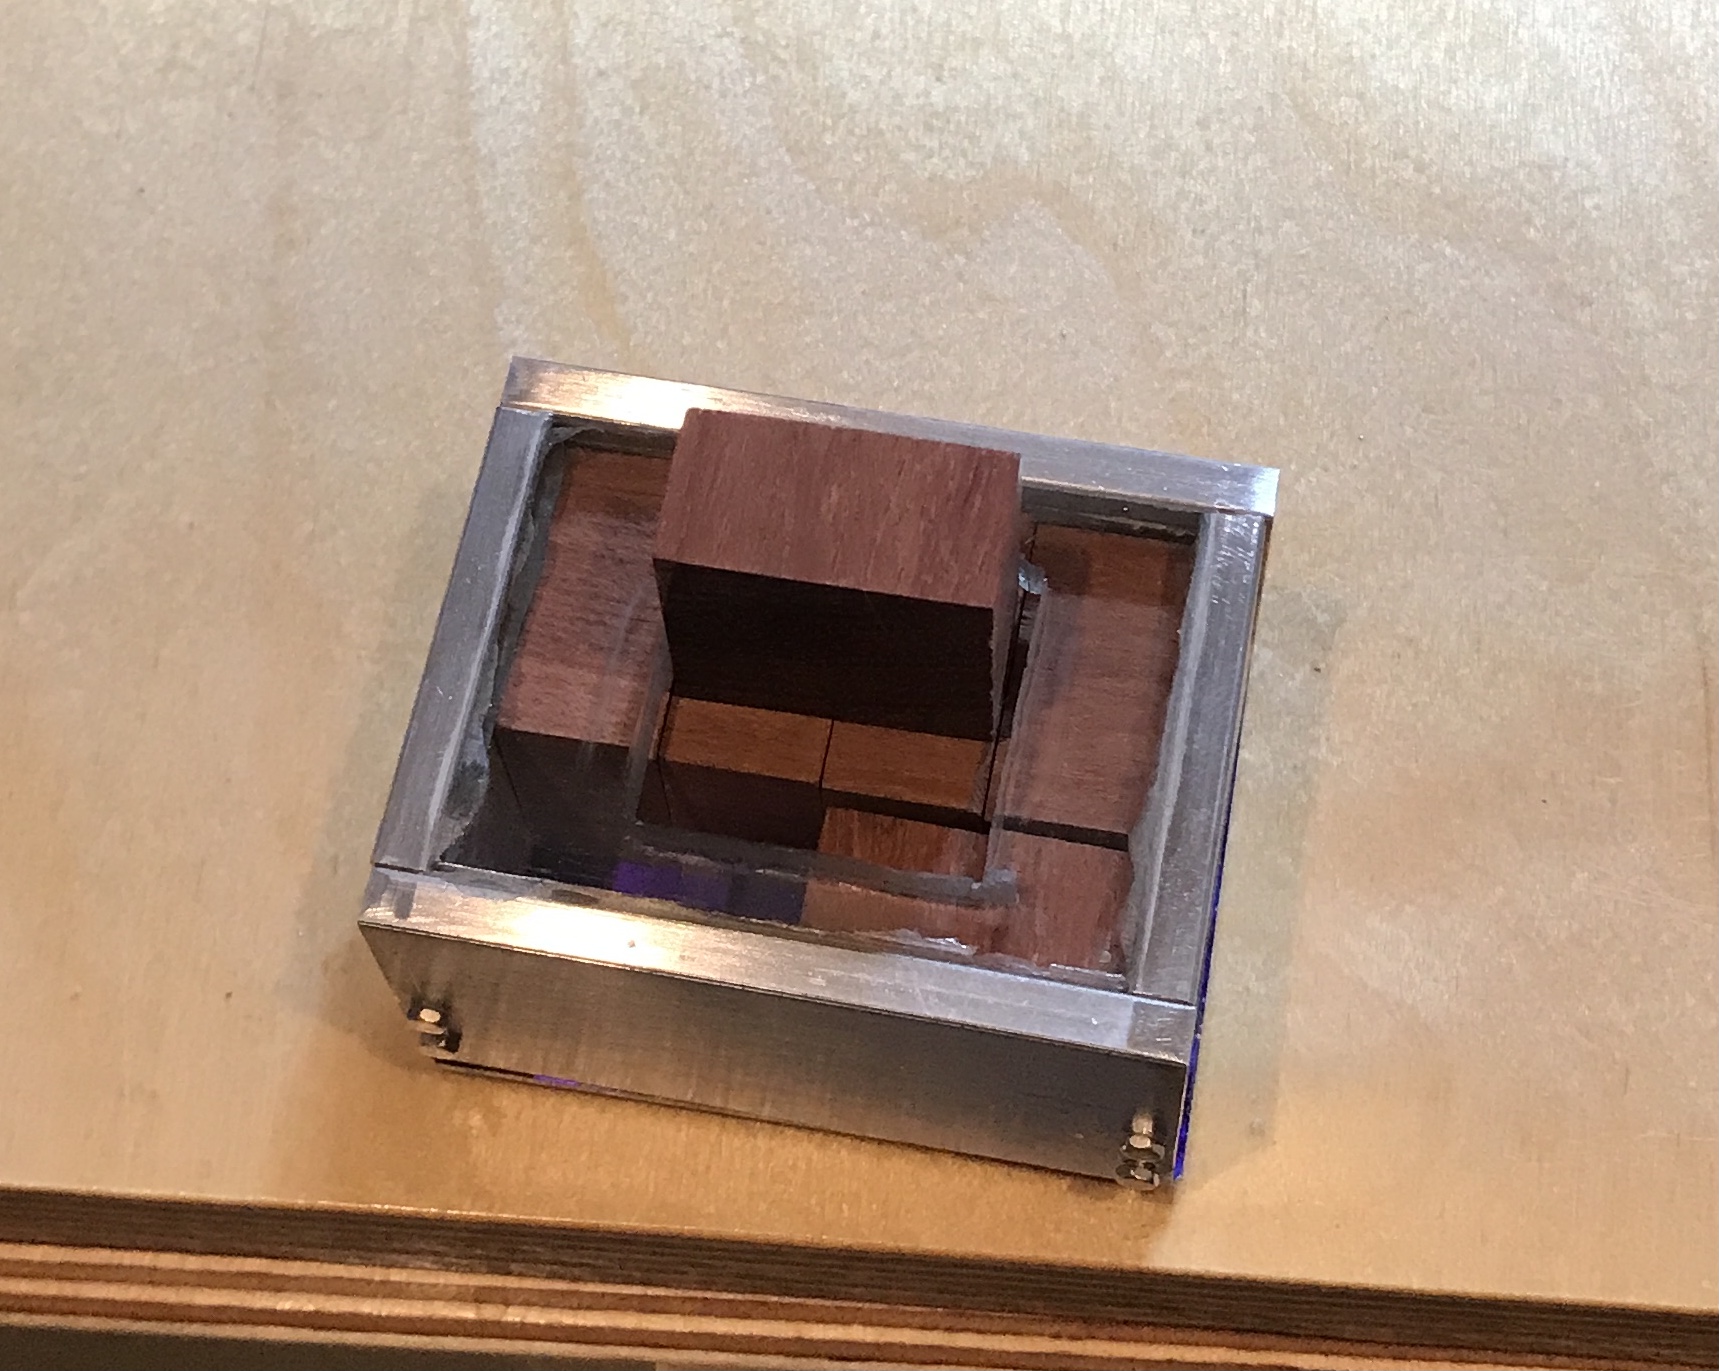
The next picture shows my lack of progress in solving the packing puzzle. And a few minutes later success!
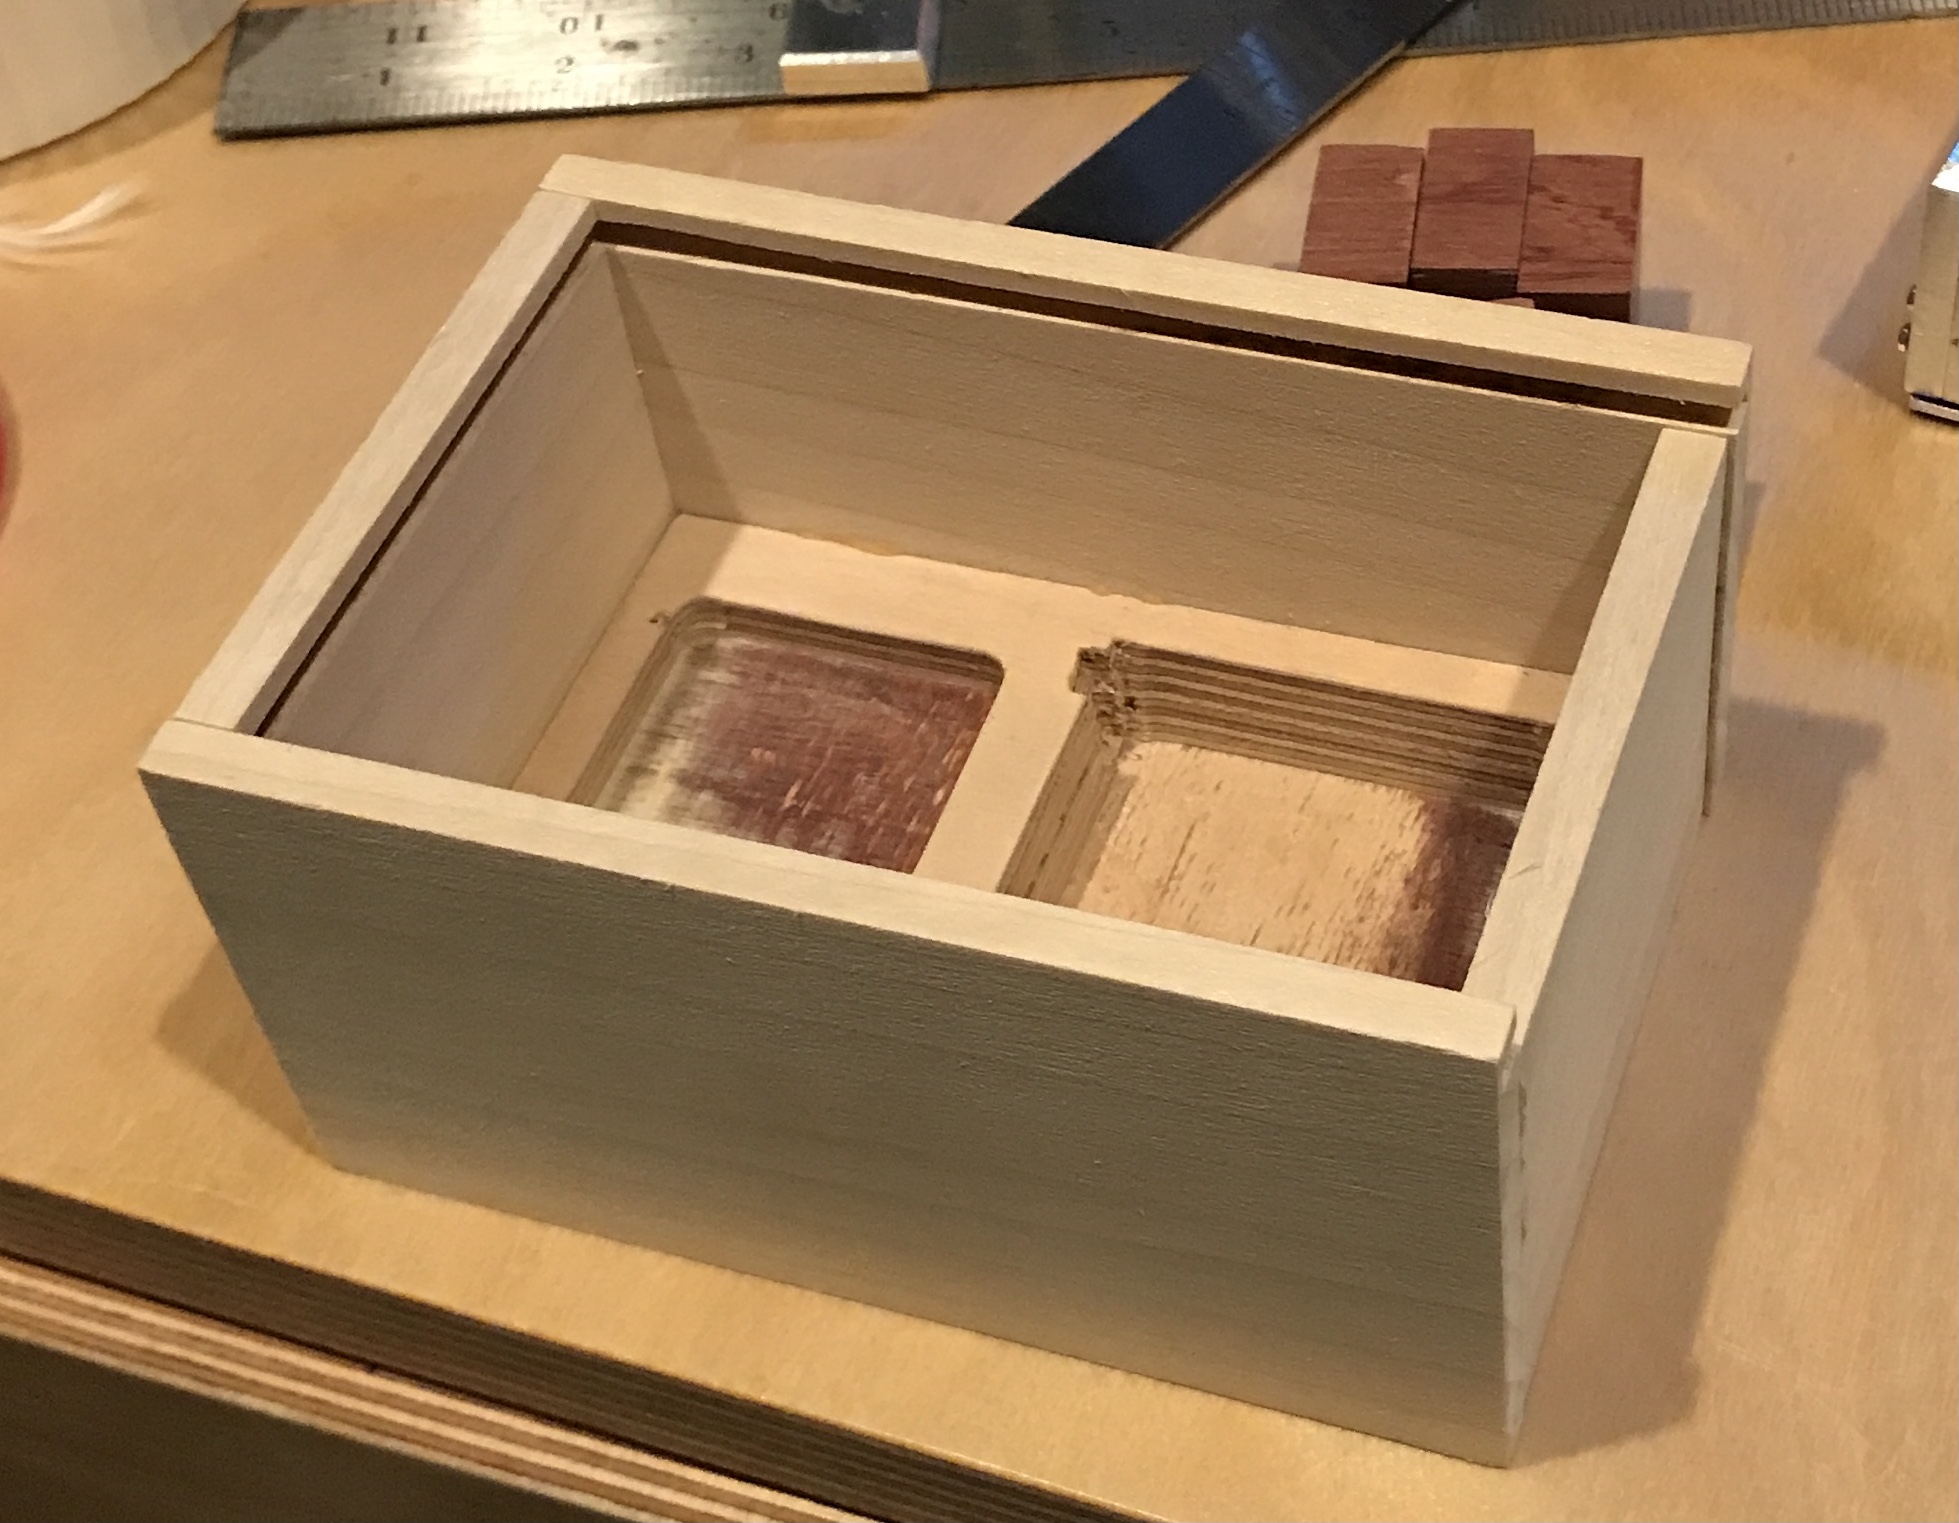
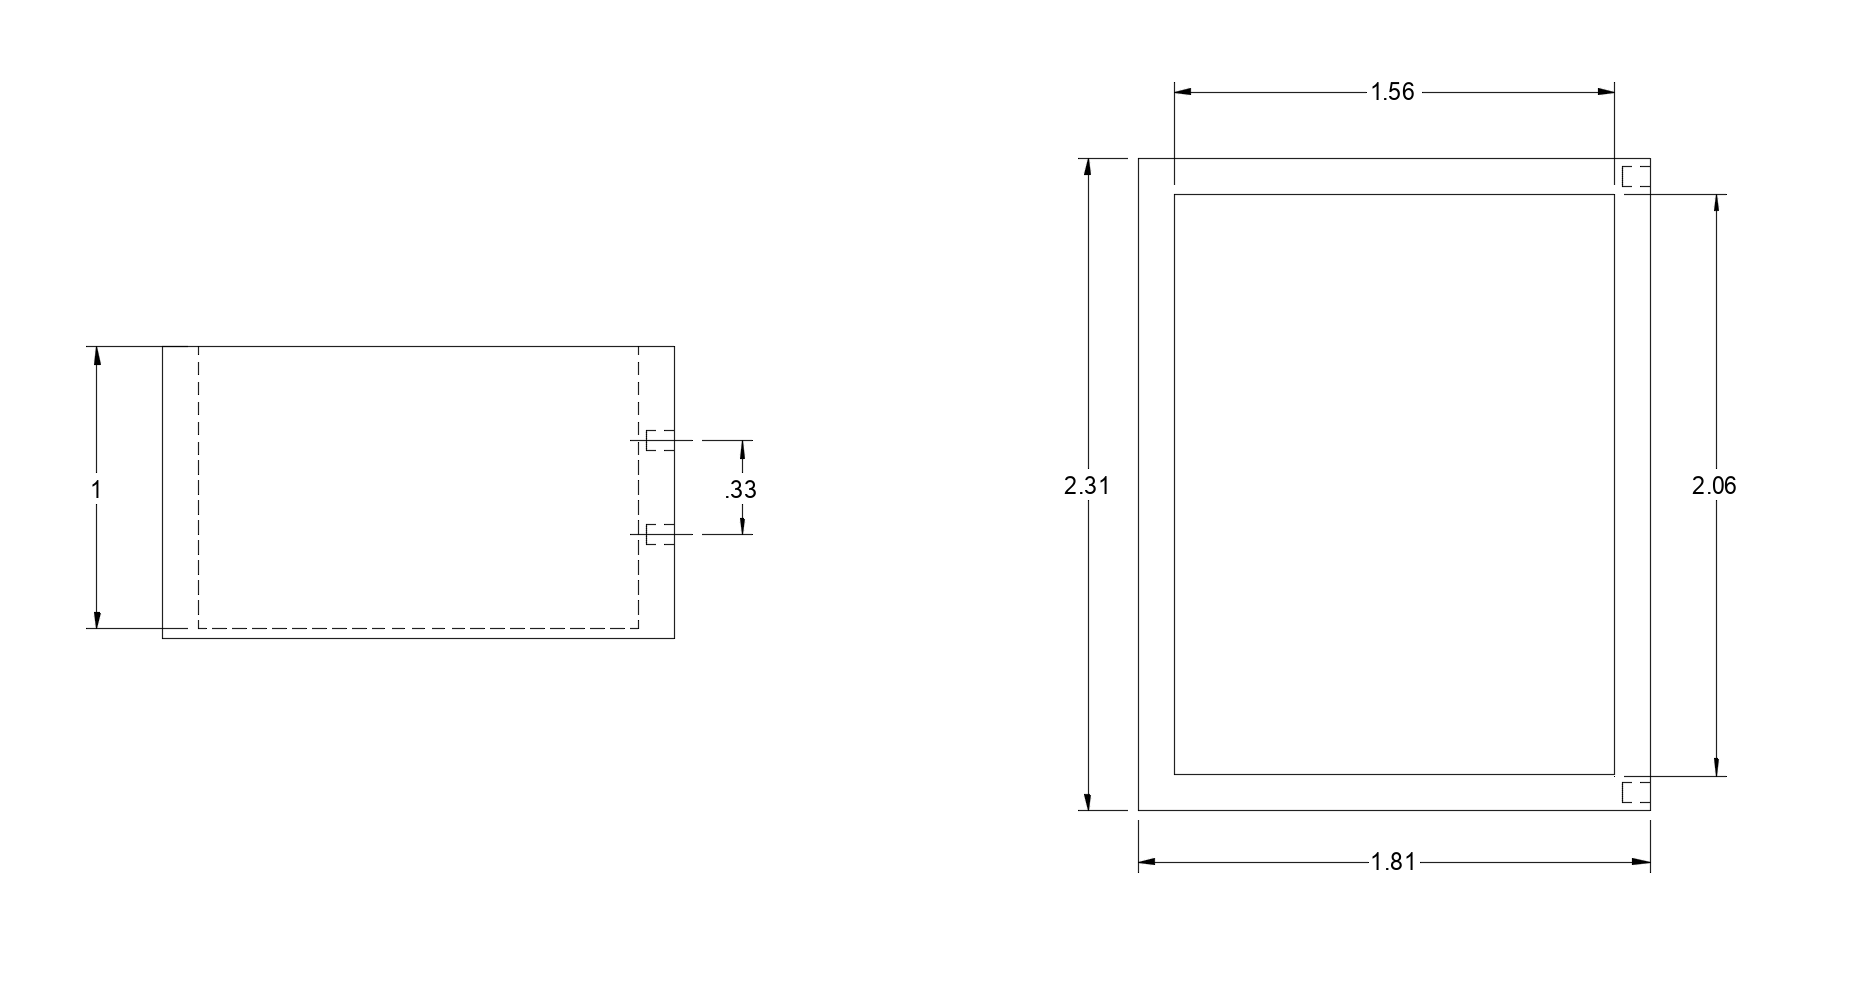
Decided to make a box to contain the box and pieces separately. The box was based on an article in Home Shop Machinist Vol 41, No. 1, 2022. A long scrap of 1/4" poplar and a scrap of 3/4" baltic birch plywood were discovered. The 3/4" plywood was cut to 2 1/2" X 4 1/2". The poplar was cut to 2 1/2" width and into two 5" lengths and two 3" lengths. One 3" length was shortened from 2 1/2" to 2 1/4". The two long lengths were slotted with the table saw 1/8" from an edge and stopping prior to the end. This stopped slot was finished with a 1/8" end mill to 1/8" from the end. The longer end part was slotted 1/8" all along one edge. The slots on three sides will serve as a dado for a sliding lid.
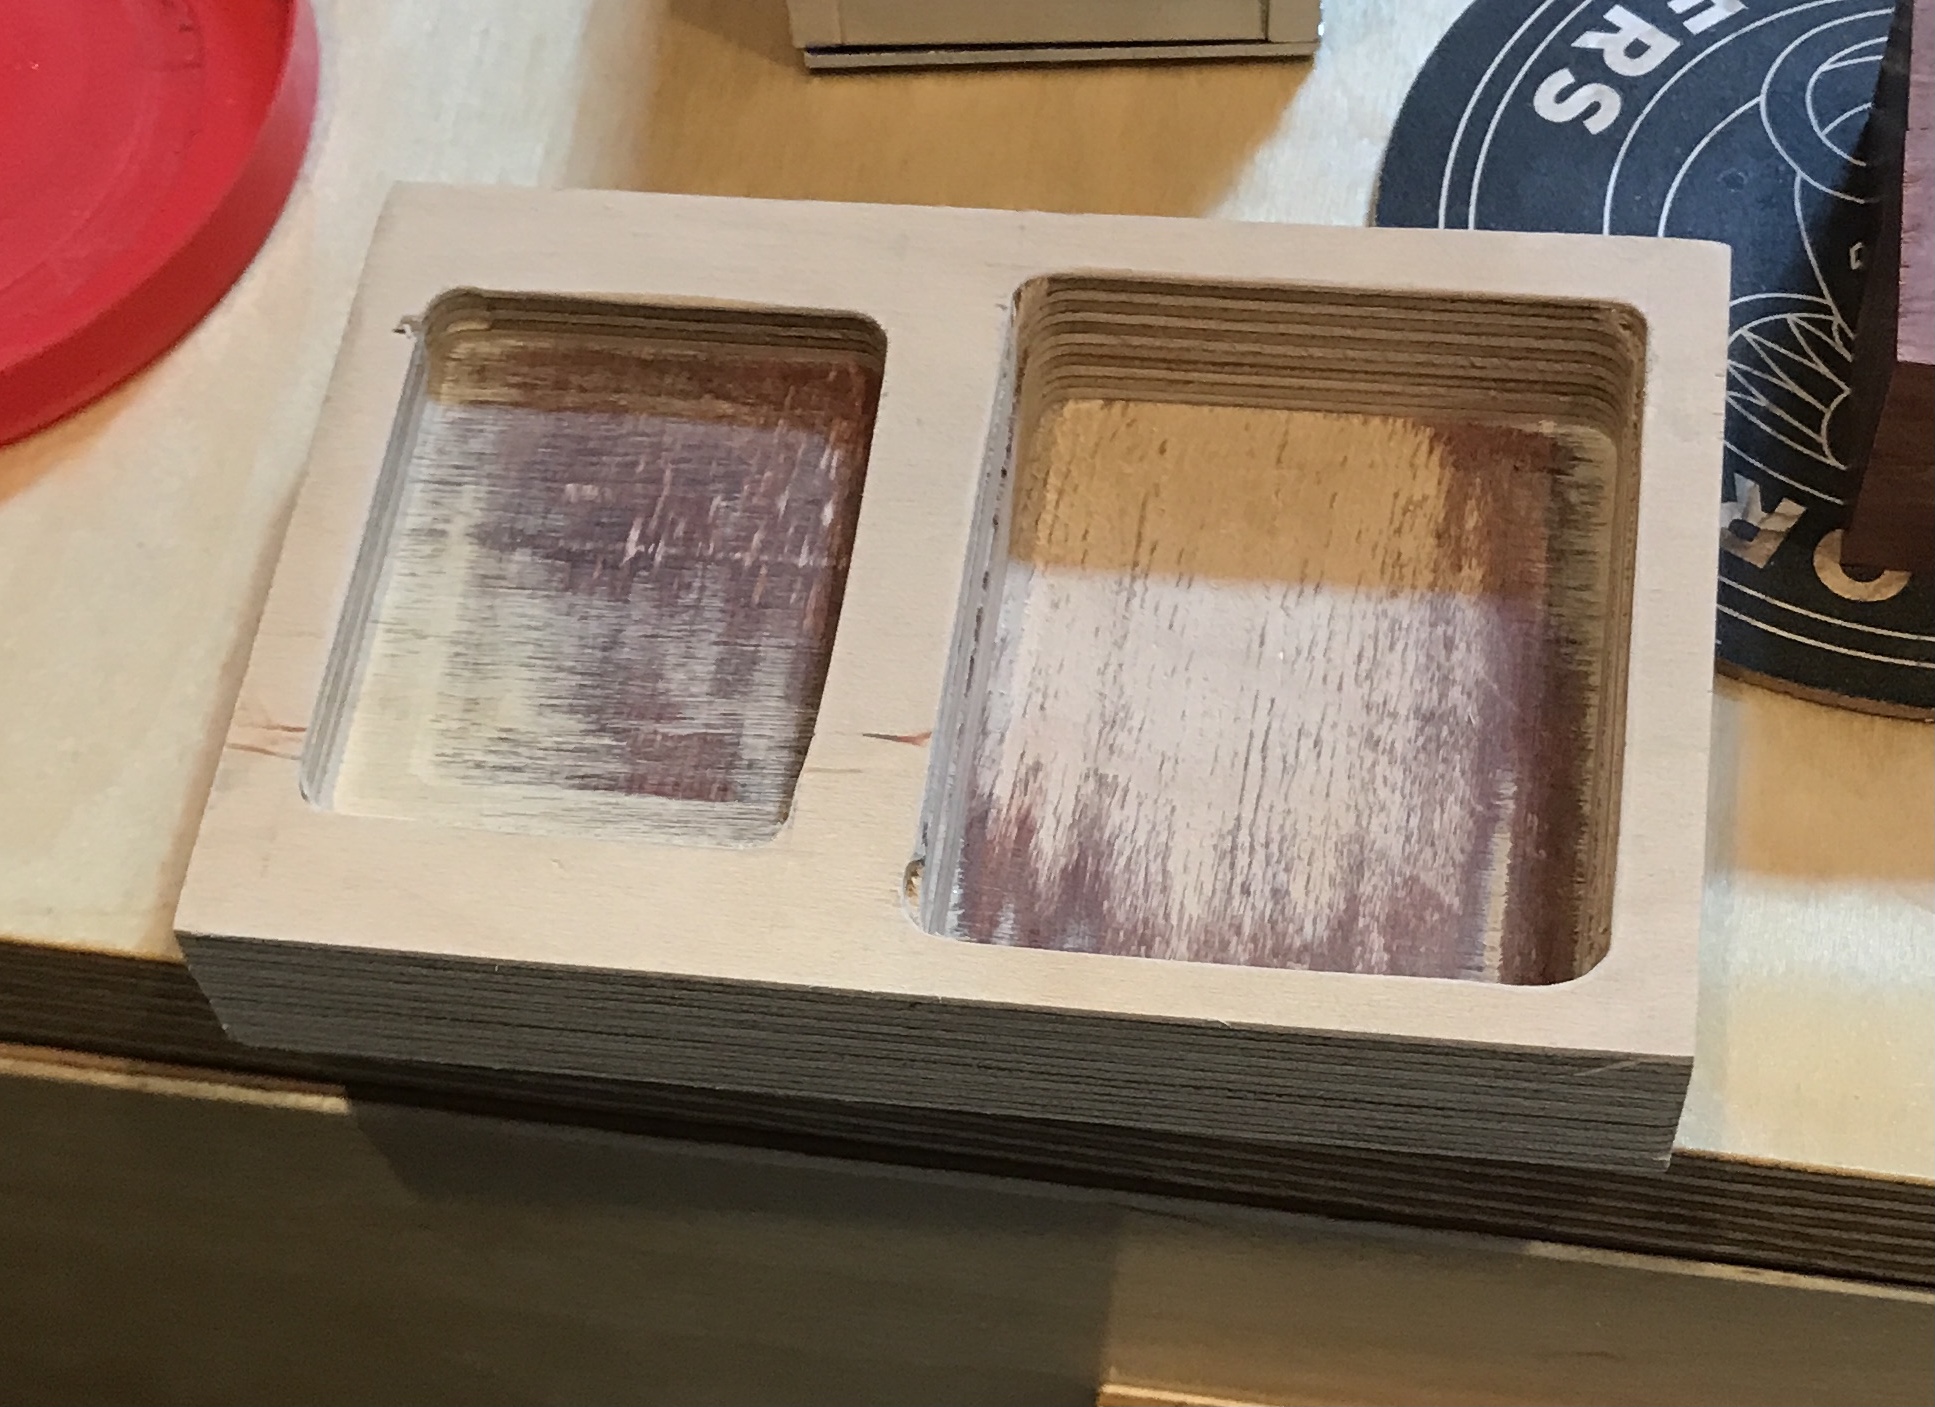
The 3/4" plywood bottom had two pockets milled into it. They were 1/2" apart leaving 1/4" at either end. The large pocket is 2" X 2 1/2" and the small pocket is 1 1/2" X 2". The large pocket was milled 5/8" deep and the small pocket was milled 1/4" deep. The completed pockets are shown below. The screw heads on the puzzle box did not quite fit, so a chisel was used to provide room for the screws. The corners were also squared up. The second photo shows these chisel modifications.
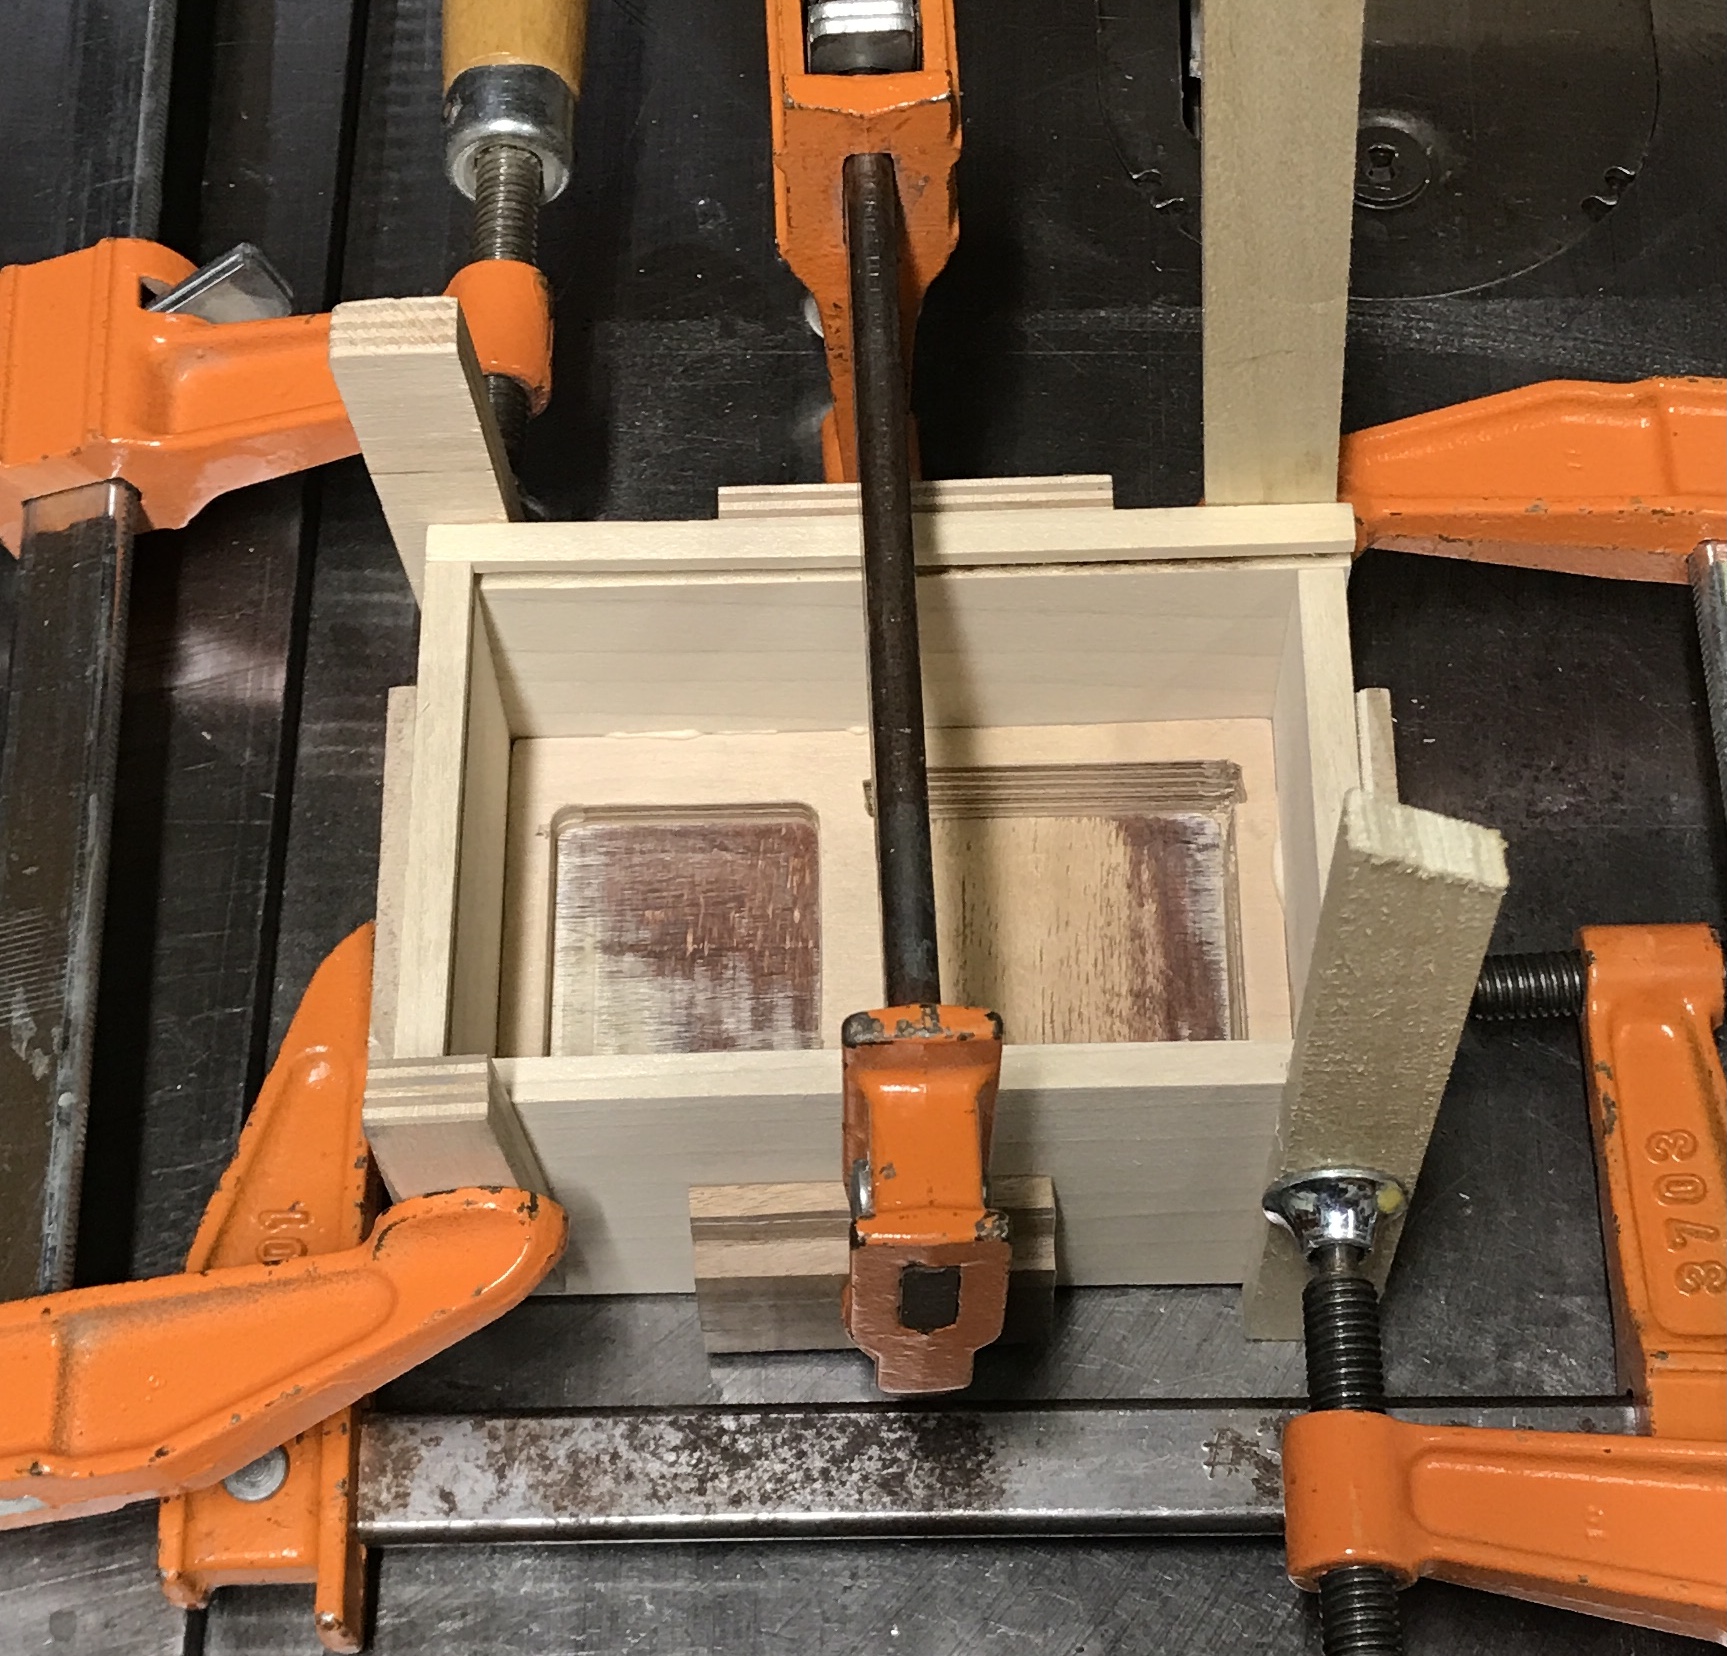
The sides were sanded and a few repairs were made. The sides were glued to the box's bottom. No screws were used as there is little room for them in the bottom. The photo below shows the glued and clamped container.
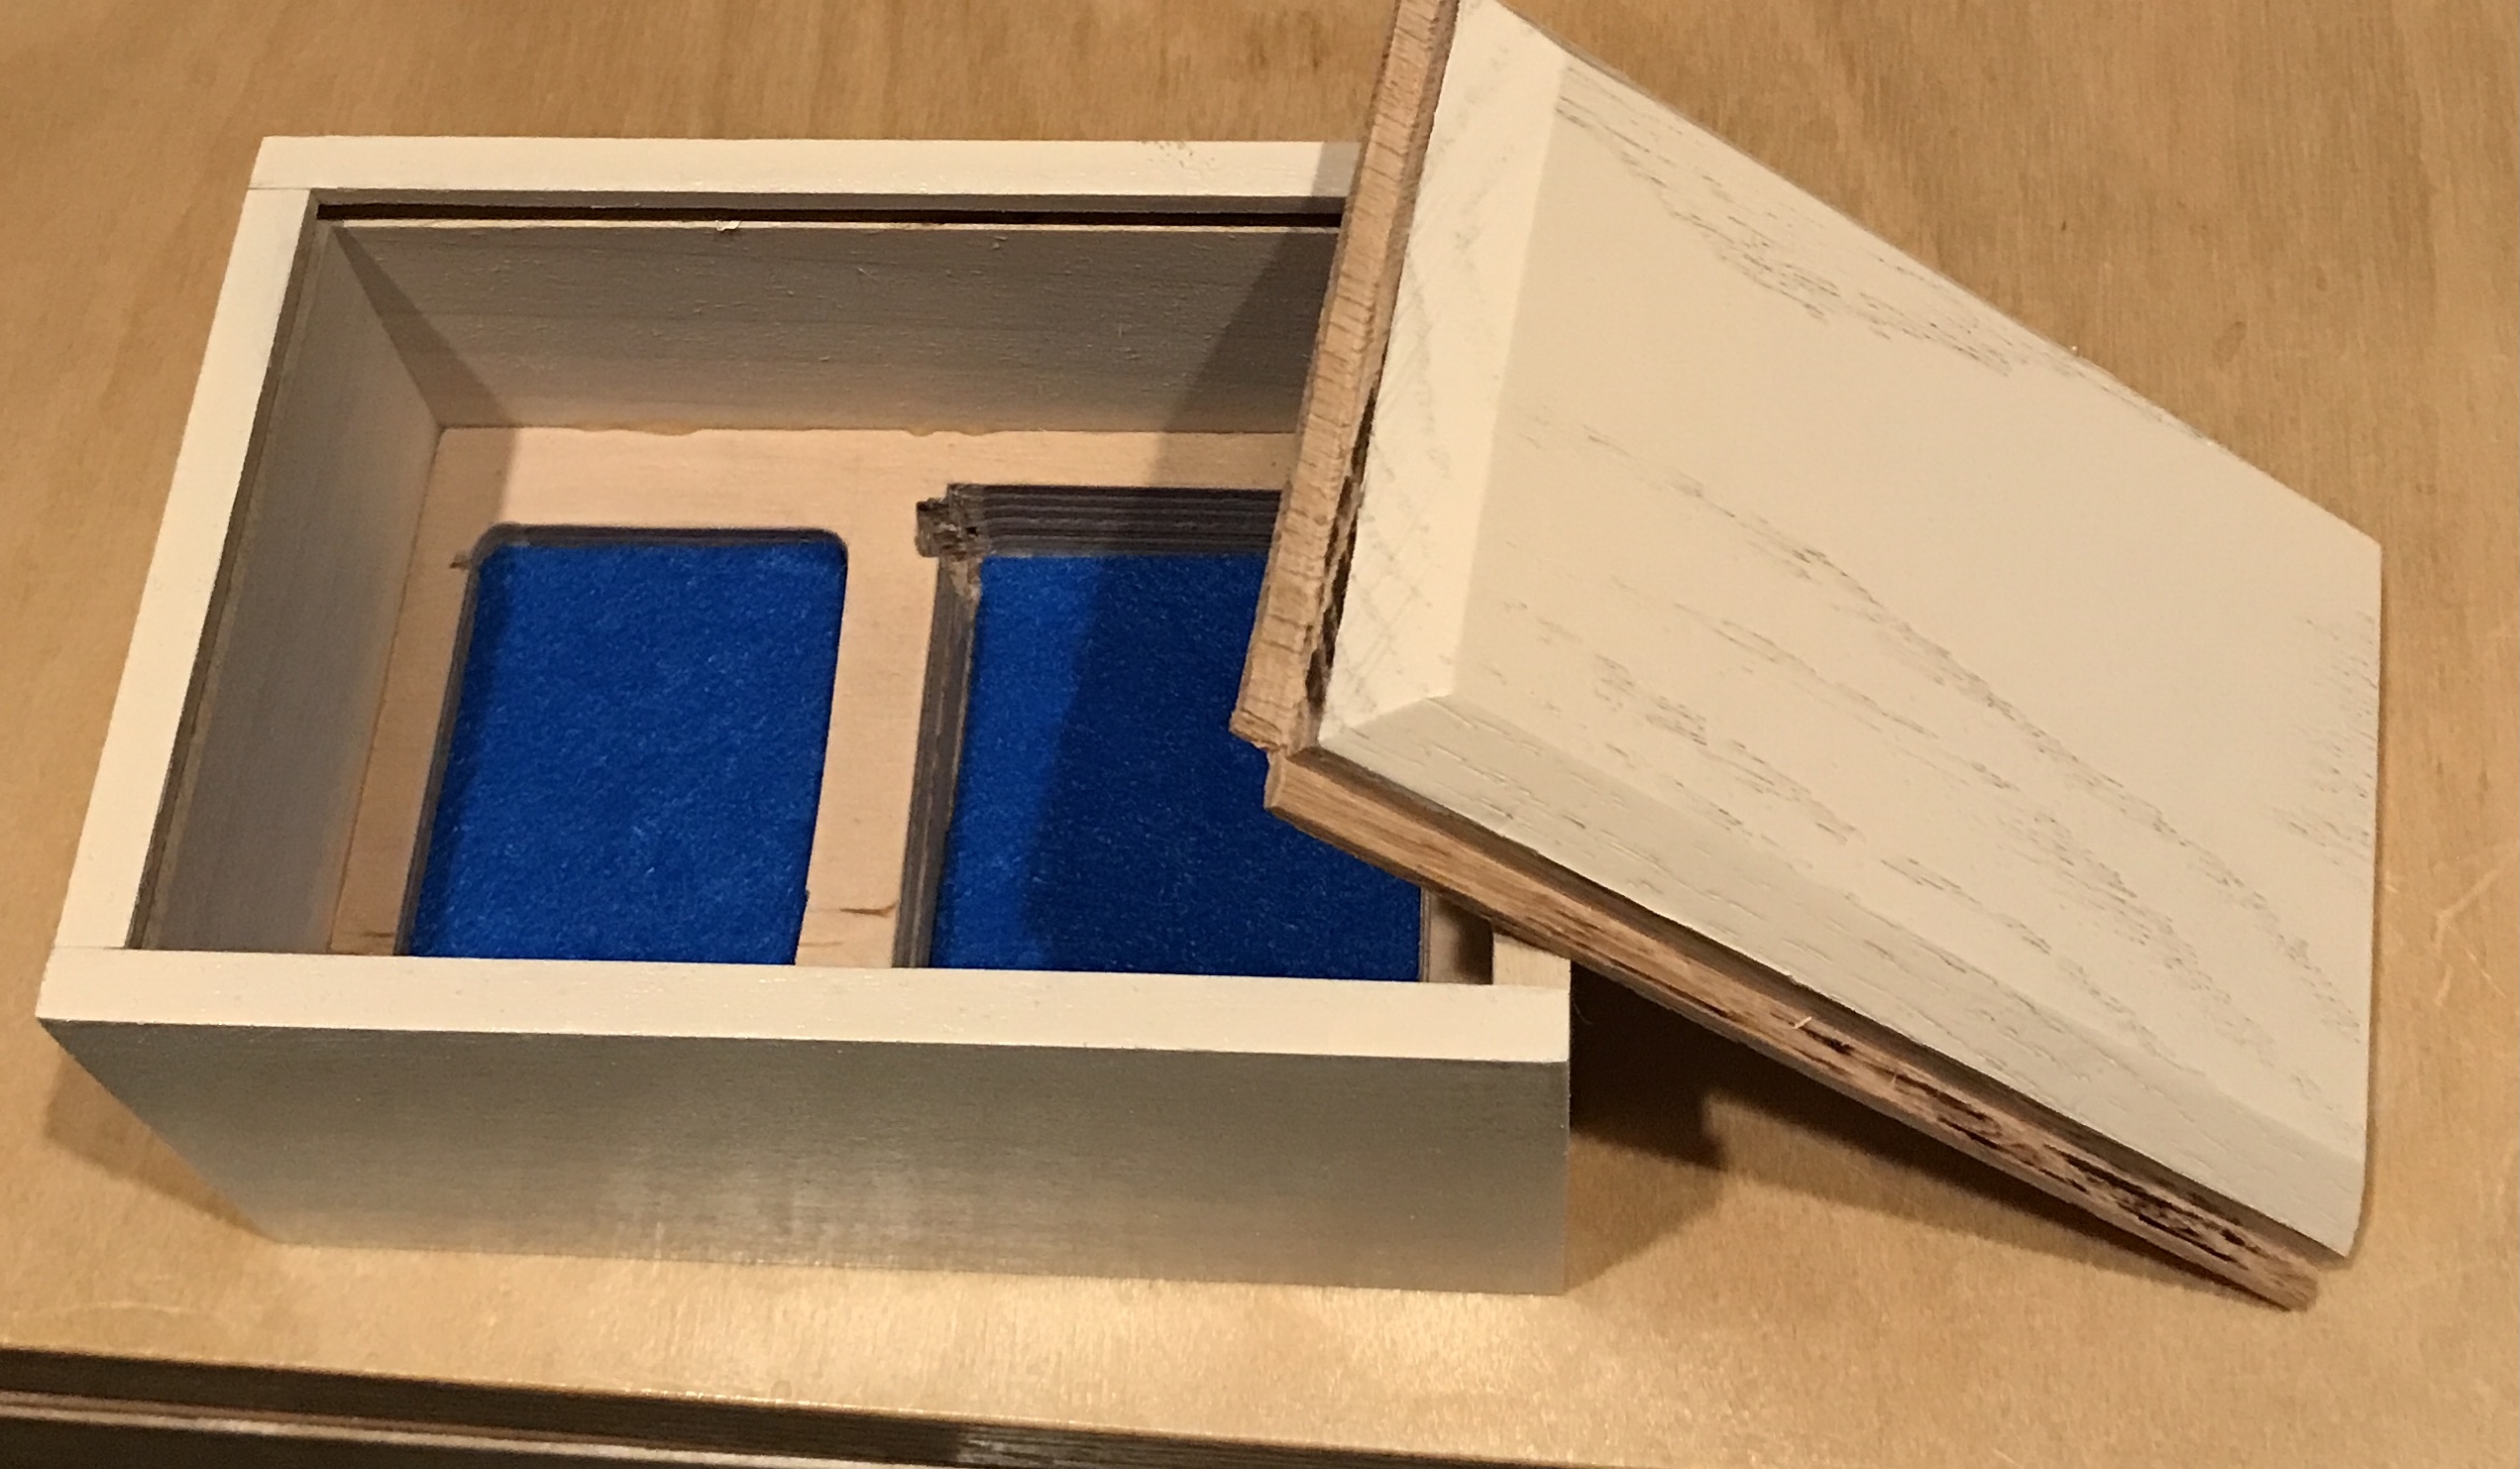
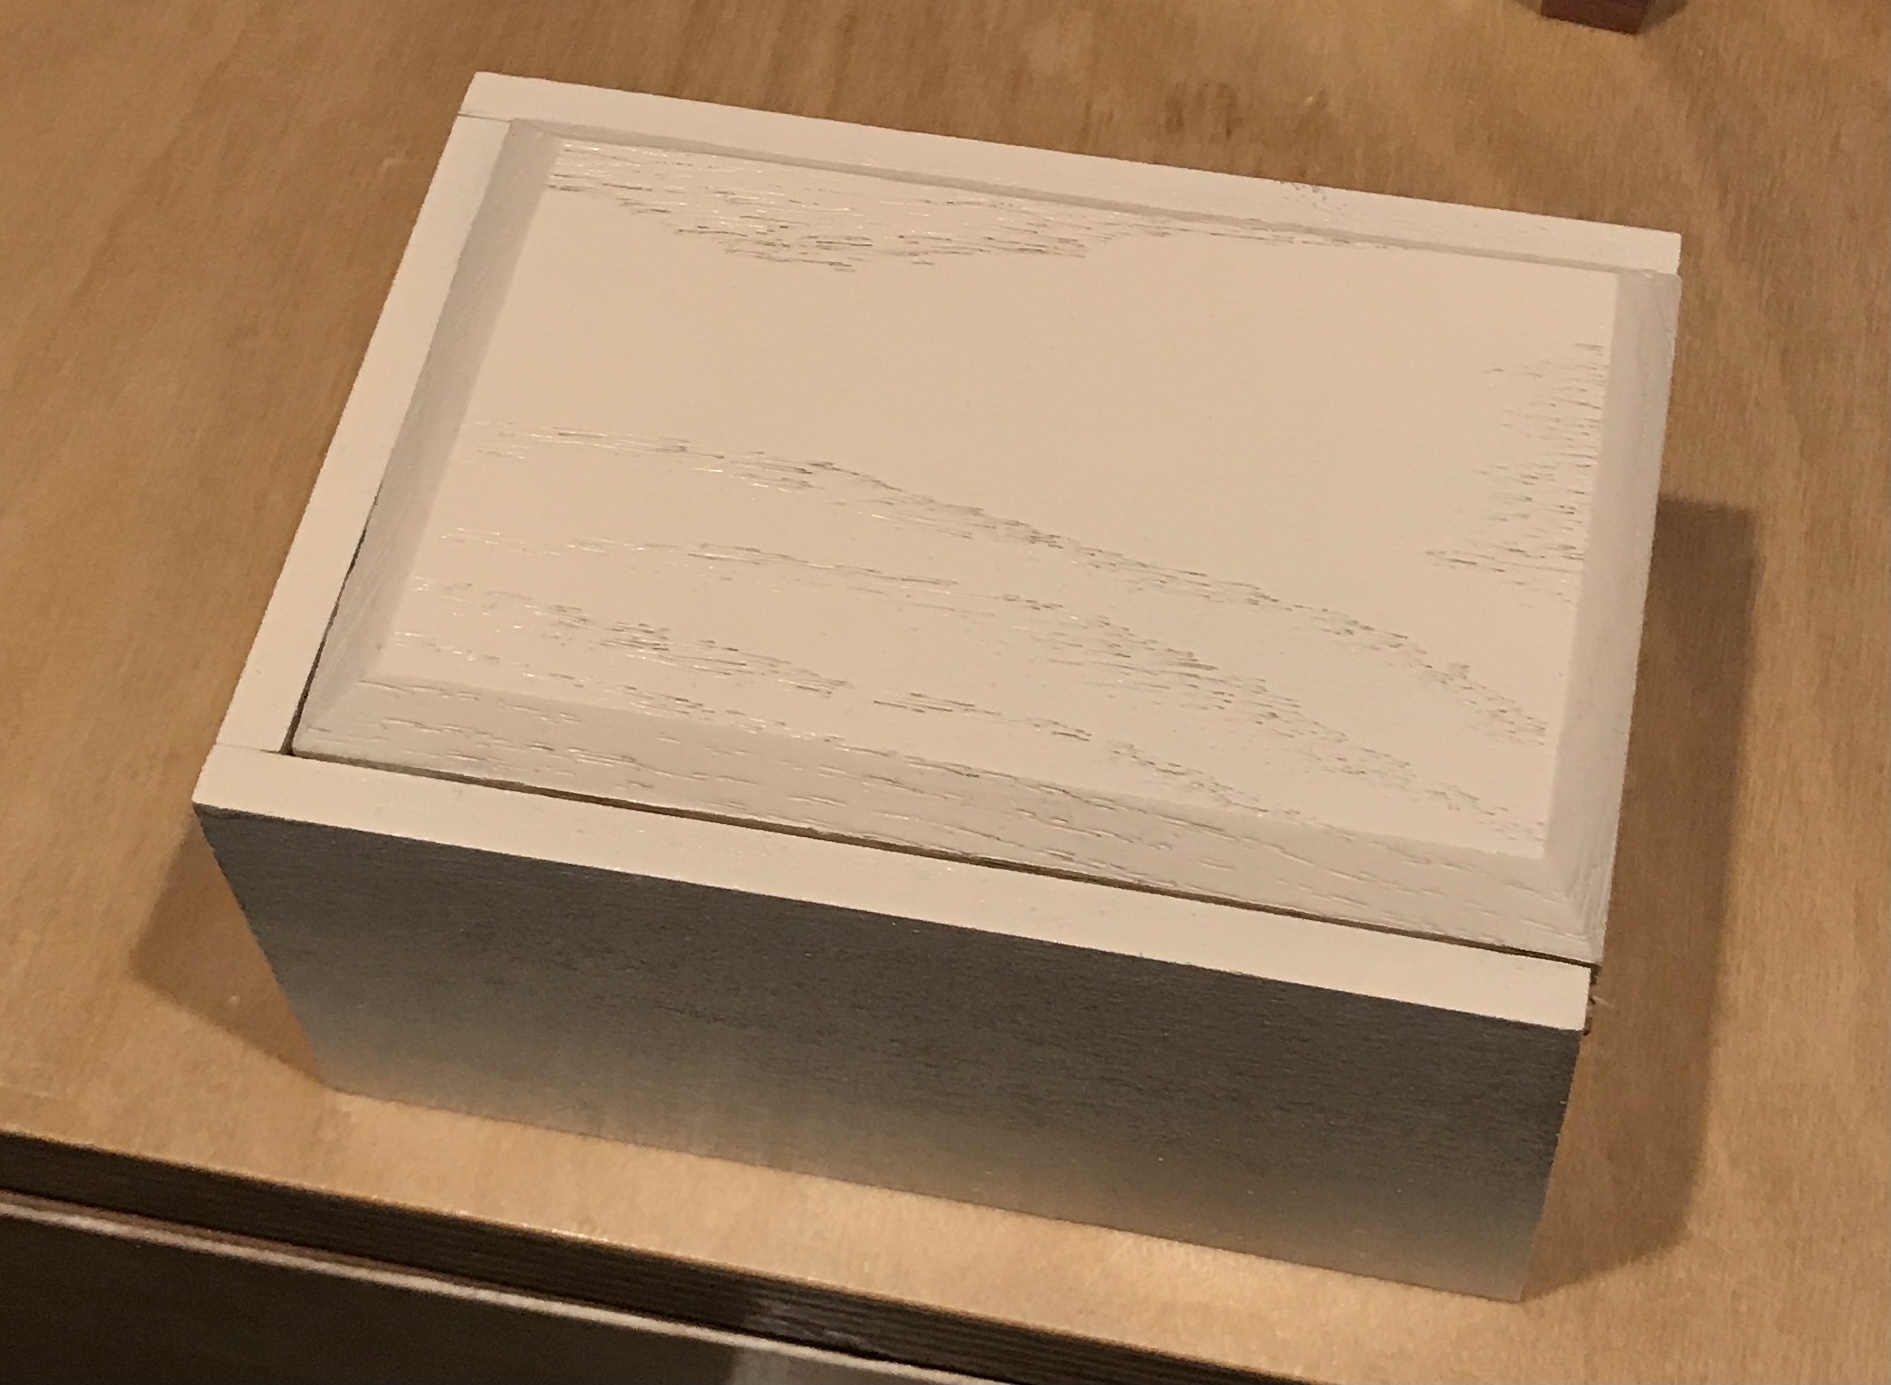
The container was sanded on the outside as seen below. The top was made from a 1/2" length of red oak. The oak was cut to the measured width, 3 5/16". A 4 15/16" length was cut from this board. The table saw blade was set to 3/8". Two long sides were cut just to the width of the blade. The larger of the short sides was cut the same way leaving rails on three sides. The top slid in cleanly, except for the last 1/8". The plugs from closing dadoes were in the way. The corners of the rails were cut back 1/8" with a chisel. The top was then heavily chamfered with a plane on the long sides and with a rasp on the ends. The chamfer is 1/4" X 1/4" on all four sides. The lid and box were taped and spray painted ivory. Below are two shots of the finished container with some felt glued into the cutouts.